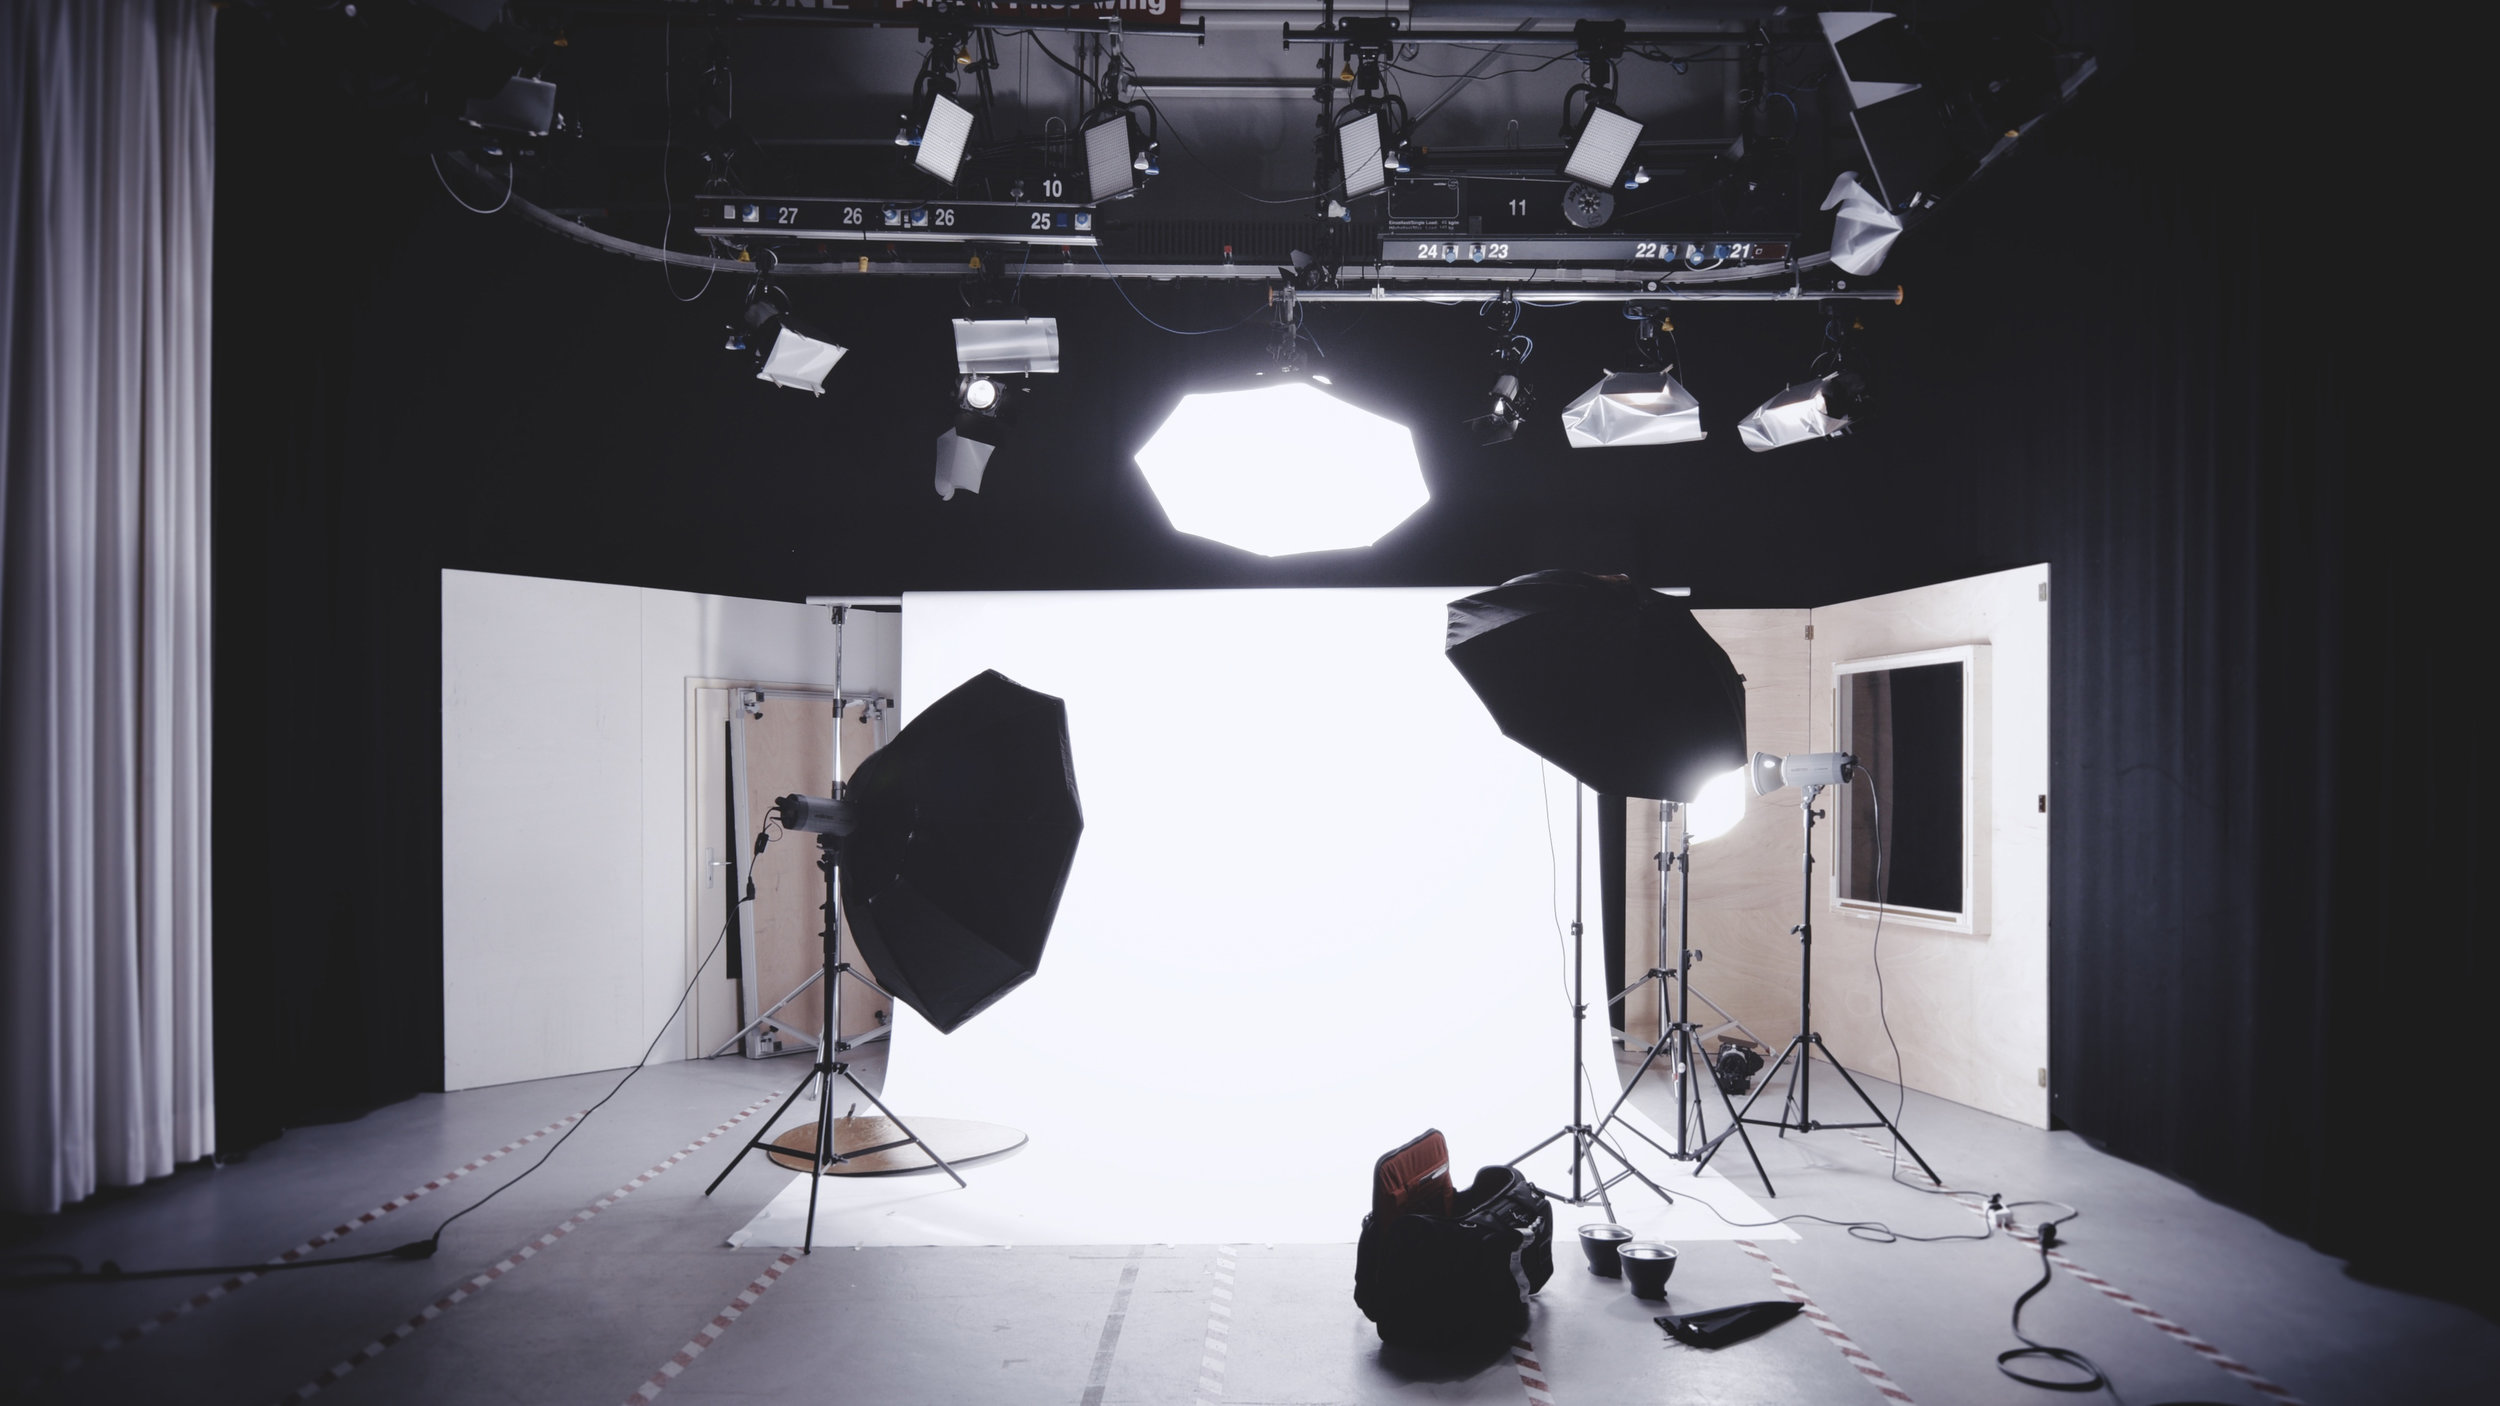
While natural light is a great choice for a number of photographic situations, having the gear and know-how to use a basic lighting system is an important step in any photographer’s journey.
Contrary to popular belief, a fundamental lighting kit doesn’t have to break the bank, or be overly complicated. Here, we’ve laid out two basic lighting kits—one very simple and cheap, and one with a few more bells and whistles—as well as some extras that any photographer using external light sources will find handy.
Starter Kit A
#1: An inexpensive flash
At around $30, this example is simple (it has two modes: on and off), but effective, and is a good choice to learn with. It’s compatible with all brands, has simple button controls, and is easy to read and understand.

Image source: Amazon

Image source: Amazon
#2: An inexpensive flash trigger
This tool lets you disconnect the flash from atop the camera and place it where is best for your photo, and then firing remotely when you take a picture. Our choice here costs $15, runs on AAA batteries, and is replaceable on Amazon quickly. Plus, there aren’t a lot of buttons to learn—you pretty much just turn it on and go.
Who/what is Starter Kit A good for?
Sometimes learning with an inexpensive tool is the best way to limit variables and practice the fundamentals, and as such this kit is a great option for any beginner learning how to use flash and see what it adds to your photos’ appearances. Plus, the addition of the flash trigger will allow you to learn how changing the position of the flash can change a photo’s look and mood drastically. Good for headshots and food or product photography.
Any drawbacks?
This is an excellent kit for at-home shoots—NOT professional level. You can’t sync with other flashes, unfortunately, which is where Starter Kit B comes in if you need multiple light sources. Plus, less expensive equipment can be less reliable, so you may find yourself needing to keep battery doors closed with a strip of duct tape, or turning things on and off to keep them from getting buggy. And as you improve your skills with lighting setups, you’ll realize the limitations of the basic kit and may end up moving toward the more comprehensive ecosystem listed below.
Starter Kit B
#1 A more robust flash
Once you learn about the more intricate capabilities of flashes—such as power, zoom, and sync modes (which you’ll learn in our Flash & Studio Lighting class)—you’ll want to use more features, and likely more flashes. This example is compatible with all brands, has more benefits than the basic one in Kit A, and clear settings on the LCD screen, such as power output, mode, and whether you’re synced with other flashes.

Image source: Adorama
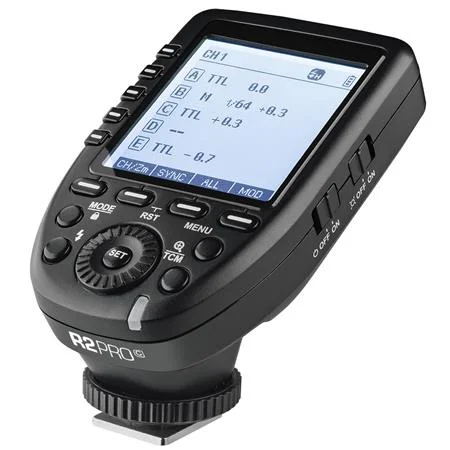
Image source: Adorama
#2 Wireless remote
This version is available for all camera brands and built for professionals, which means reliability (no duct tape needed here!) You also have an LCD screen and clear labels on which flash you’re triggering, so it’s pretty easy to navigate. Plus, Adorama gives great customer service and offers two-day delivery to compete with Amazon.
And #3 for when you’re ready: Monolight strobe
Again, you’ll have a simple and clear LCD screen to show power output, etc., This is more powerful than the flash above, which makes it useful for large spaces and large groups, as well as interior photos, weddings, and other outdoor portraits.

Image source: Adorama
Who/what is Starter Kit B good for?
This is an excellent kit for those looking for more upscale capabilities—instead of the LinkedIn headshots or Etsy store-quality photos you can achieve with Kit A, think more family/group portraits or interior design-level shoots with this gear. All three components have control wheels, allowing for easy navigation through your options. And while you have many more professional lighting options, it’s not that much more complicated than Kit A to begin using—as you become comfortable with the basics, you can add more capabilities to your repertoire.
Any drawbacks?
At $65 a pop for each flash and the wireless remote, plus $550 for the strobe when/if you choose to add it, you’re talking about a more serious investment. But with more investment often comes more usability, which is definitely the case with this adaptable (and long-lasting) setup.
Looking for More?
Here is some more gear that you may find helpful—you’ll also learn about them both in the Flash & Studio Lighting class and Food Photography 1.
Lightstand: Everyone needs them. This is a pack of two, so you can use one for your flash and one for your reflector.
Heavy-duty lightstand: For those buying a monolight strobe, these will be more sturdy to support the extra weight.
Softboxes: These accessories for your flashes and monolight strobes help soften the light and come in a variety of sizes and shapes. There are too many to link to here, so to learn more, join us for Flash & Studio Lighting.
Reflector: The job of any reflector is to bounce light toward the shadows on your subject to bring out the details. This version is a triangle with multiple color options and a handle, or you can use a clamp to attach it to your lightstand to free up your hands.
Clamps: Unlike the spring clamps we mentioned in our Food Photo Starter Kit blog post, these clamps are specific for photography and screw onto your lightstand. They act as an extra set of hands to hold reflectors, small backdrops, or lightweight diffusers.