
Whether you’re a food blogger, personal chef, or just want to tighten up your Instagram feed, if you’re reading this, chances are you have some interest in food photography.
While you’ll learn essential techniques in the BPW’s Food Photography I and Food Photography II classes, here are some simple (and mostly cheap) tools that can help you take your at-home food photo skills from undercooked to perfectly done.

#1 A camera with manual controls: Moving from auto to manual mode is your first step to controlling light to your best advantage. If you’re in the market for a good beginner camera, check out our recent Gear We Love: Beginner Cameras 2017 blog post. Our #1 pick for foodies on the list is the Canon Rebel T6i because it lets you see real-time exposure simulations when you adjust your camera settings right on the back of the LED touchscreen. Plus, last year’s model, the T5i, is still an excellent choice at a lower price point—and, you can usually find either model refurbished and certified by Canon by searching online.

#2 A sturdy tripod: As we mentioned in another previous blog post, tripods allow you to use a slow shutter speed to collect more light in less bright environments (such as your kitchen at nighttime or a darkened restaurant) and avoid blur. Food photography is a slow-paced activity that allows you to stick to one setup and perfect it, which makes a tripod a must-have.
PRO TIP: Whether it’s your kitchen, dining room, or anywhere else, try to turn off any artificial light—especially those found overhead—and use natural light instead.
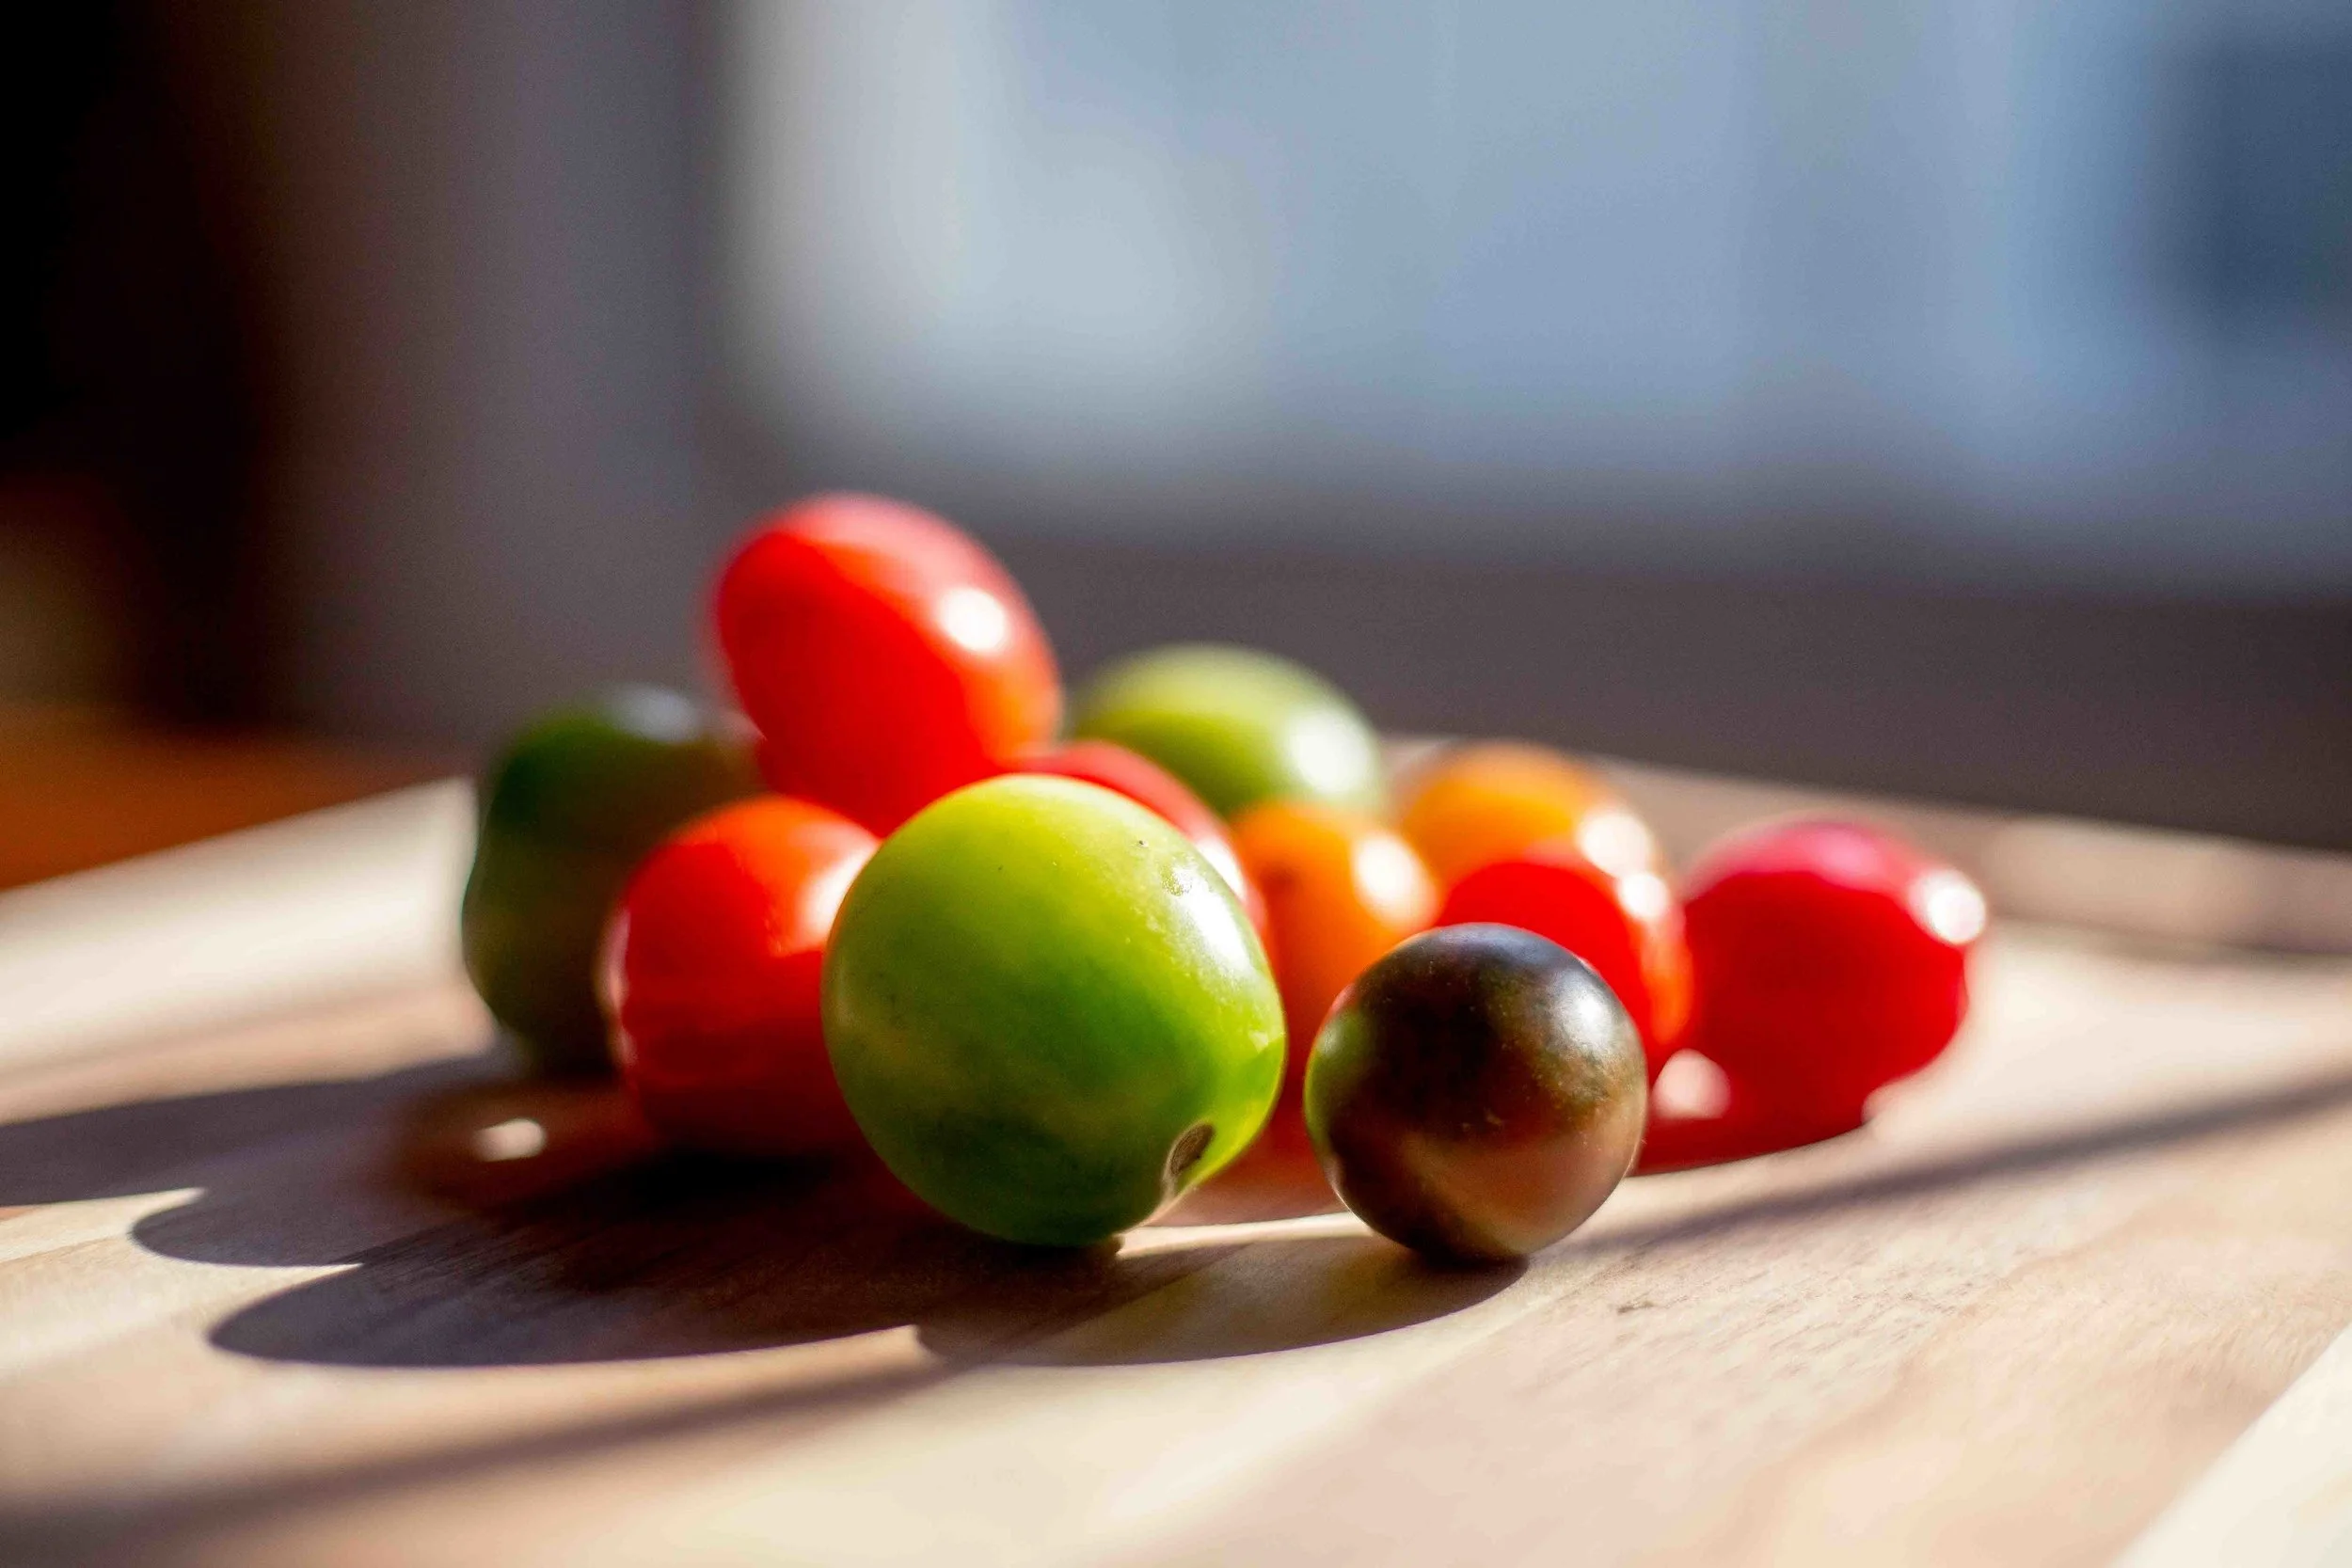
#3 Pretty food: While it may be tempting to jump in and try to photograph your famous roast duck or a complicated soufflé, you’re probably better off sticking with whole fruits and vegetables in the beginning while you get comfortable. They offer plenty of colors, shapes, and textures, plus they won’t melt or deflate on you.
PRO TIP: When you do move on to more advanced dishes, don’t plan to immediately eat what you’re photographing. Remember, good food photography takes time, and you don’t want your guests or family waiting with growling stomachs for an hour before you serve them a beautiful (but cold) pizza.

#4 A reflector: The job of any reflector is to bounce light toward the shadows on the food to bring out the details. While you can spring for an inexpensive professional reflector with multiple color options, you can also get a similar (and cheaper) effect with various low-tech solutions, such as a piece of white cardboard from a craft store, a white sheet, a roll of paper towels, or even a strategically placed friend in a white T-shirt.

#5 A 50mm f1.8 lens: Otherwise known as a “nifty fifty,” this lens forces you to move around and explore multiple angles instead of zooming in from far away. A 50mm also produces sharper photos than zoom lenses, and is better at creating that blurry background—or “shallow depth of field”—that’s popular in food photography. You can find this lens for all camera brands, just search: "50mm F1.8, Canon or Nikon, etc.."
PRO TIP: Remember to get up close and personal with your food! You don’t need to show the whole plate to make a good photo.

#6 Spring clamps: Found at any hardware store or online, spring clamps are a must for holding items and reflectors in place when you run out of hands.
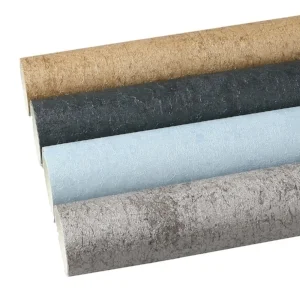
#7 Background materials: Pick up assorted placemats and napkins to offer you more color and textural elements to create different moods for your food set-ups. You’ll only need one or two of each different pattern and color, so have fun shopping around at places like Christmas Tree Shops, Goodwill or Salvation Army locations, or your favorite home furnishing stores.

#8 Editing software: Once you've finished making your picture, it's important to know that all photos require a small amount of editing. No matter who you are, all photographers edit, or "process," their photos to make them just right. There are many free options available, from iPhoto on Apple computers, to Google Photos, or even Instagram. Most photographers do eventually move towards a more refined tool once they get used to the idea of editing. For our students, we strongly recommend Adobe Lightroom Classic; this is a powerful and fun tool for editing pictures. If you need some help getting familiar with Lightroom, you can always join us for our introductory courses to Adobe Lightroom Classic.