
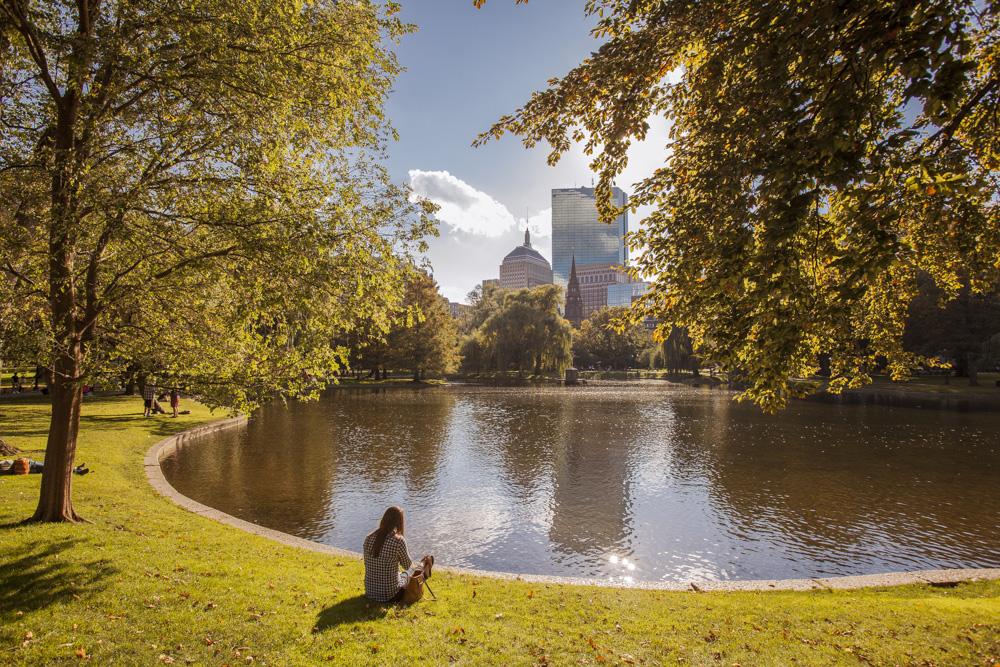
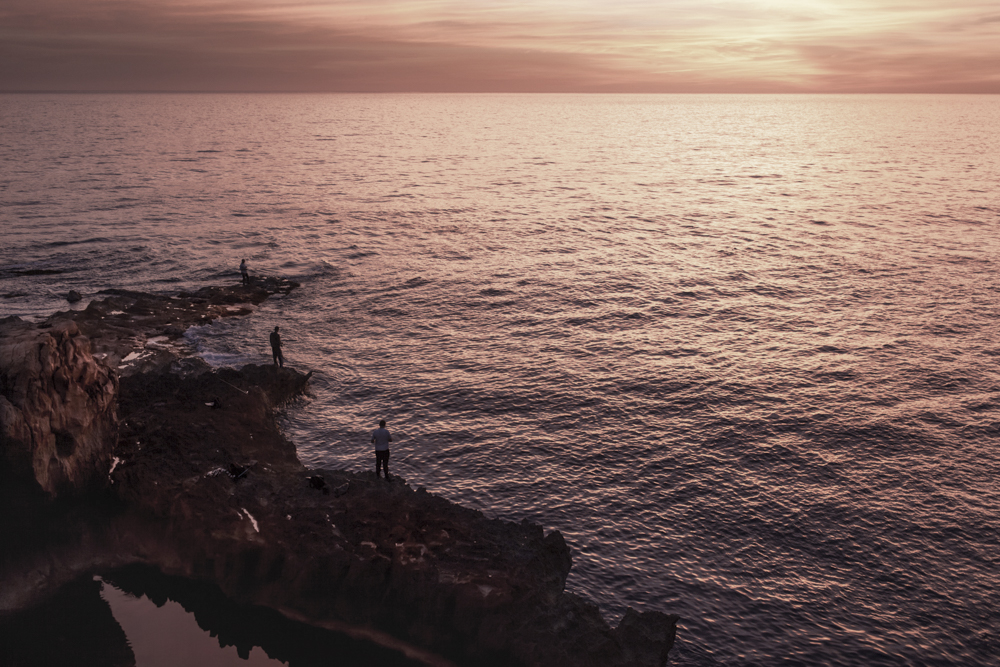
As we often say in our workshops, editing bridges the gap of what you see and what your camera sees. And while editing photos is a crucial part of making photographs, that doesn’t mean it has to be an arduous task. In as little as 30 seconds, you can take your photo from just “okay” to “wow.”

What is editing?
So what is editing? Editing or “processing” your photo is simply one of the final steps to making a finished photograph. The photos that come straight from your camera are only “half baked” and editing helps you push your images to their full potential. It’s important to think of editing as an actual part of your process, like adding icing to a cupcake. (Seriously, who wants a cupcake without frosting?)
The Boston Photography Workshops wants to help new and experienced photographers alike make incredible photos, so we’ve selected five editing programs for you to consider. Please note there are many programs available which do very similar things and are very helpful, and remember that the BPW offers helpful classes in both Lightroom Classic and Photoshop when you have questions.
Where to Start: Our Editing Picks
Paid software
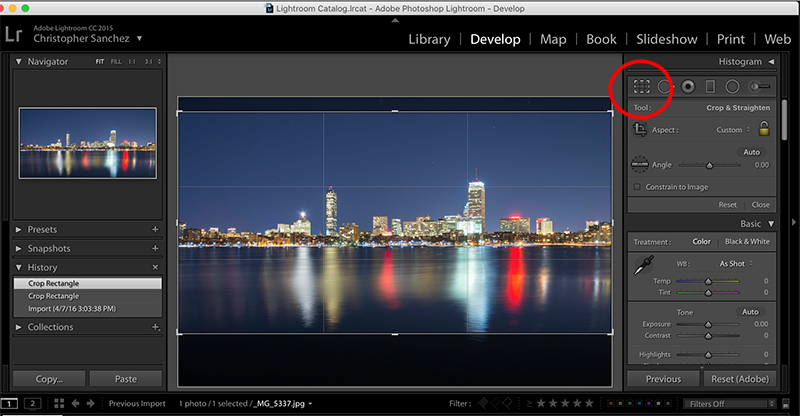
Adobe Lightroom Classic
Adobe Lightroom Classic is not only an industry standard for professionals, but also an excellent choice for new photographers. Along with providing simple, yet powerful editing tools, Lightroom Classic is also a comprehensive organizational tool. You can download and try Adobe Lightroom Classic for free for 7 days. After that, there is a $10/mo. subscription fee (which we think is well worth it).
Pros: Powerful, intuitive, built-in photo storage and organization. Cons: $10/mo subscription.

Adobe Photoshop
Photoshop is a powerful program that is solely designed for editing (meaning it is not intended to help organize your photos like Lightroom). Photoshop has hundreds of editing tools and components which can, at times, be overwhelming to new photographers. We recommend students start with other editing programs before jumping into Photoshop. You can download and try Adobe Photoshop for free for 7 days. After that, there is a $10/mo. subscription fee.
Pros: Powerful, intuitive, graphic design capabilities. Cons: $10/mo subscription.
Free software
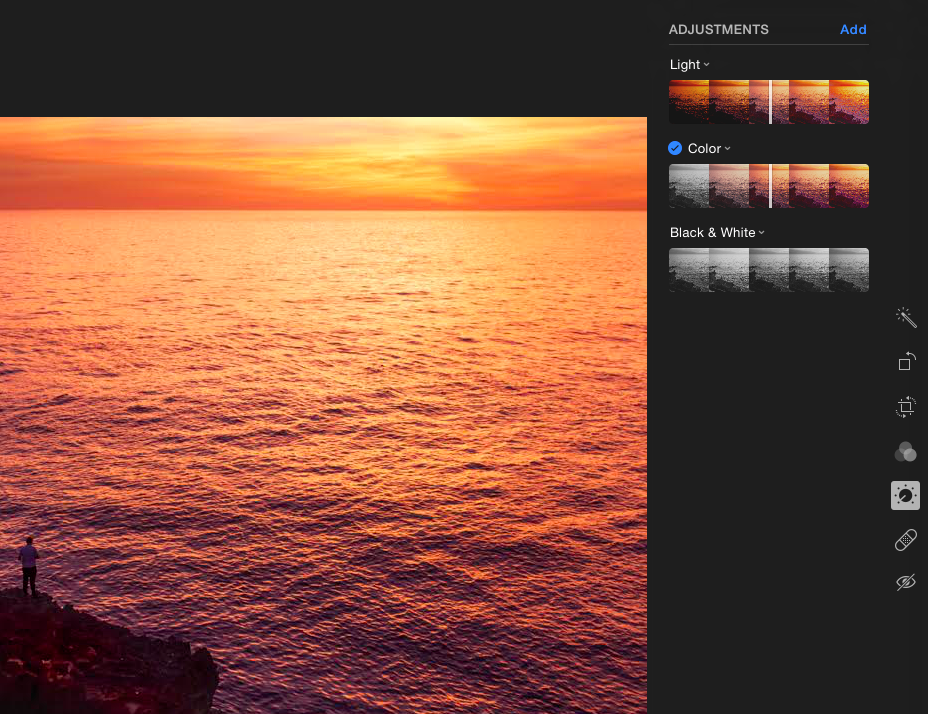
Google Photos
Linked to your Gmail account, Google Photos is a free, browser-based photo editor which also helps users organize your photos in the cloud. However, it is limited in editing capabilities and feels like a more advanced Instagram. You can make basic manipulations to exposure, saturation, and cropping, as well apply a variety of filters. Although it is a simple, fun, free program that is very useful for image storage, you’ll quickly outgrow the editing capabilities of Google Photos after a few months of photos.
Pros: free, user friendly. Cons: limited editing abilities.
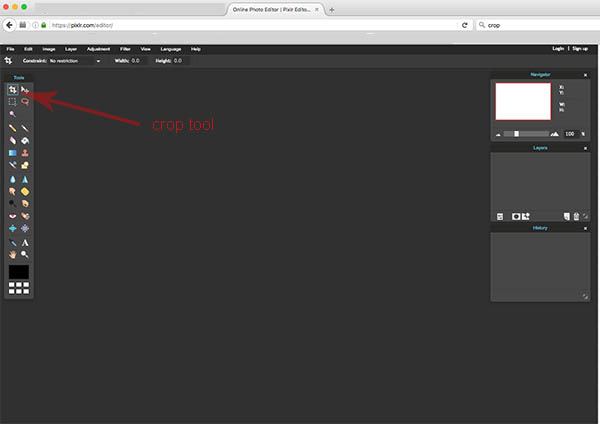
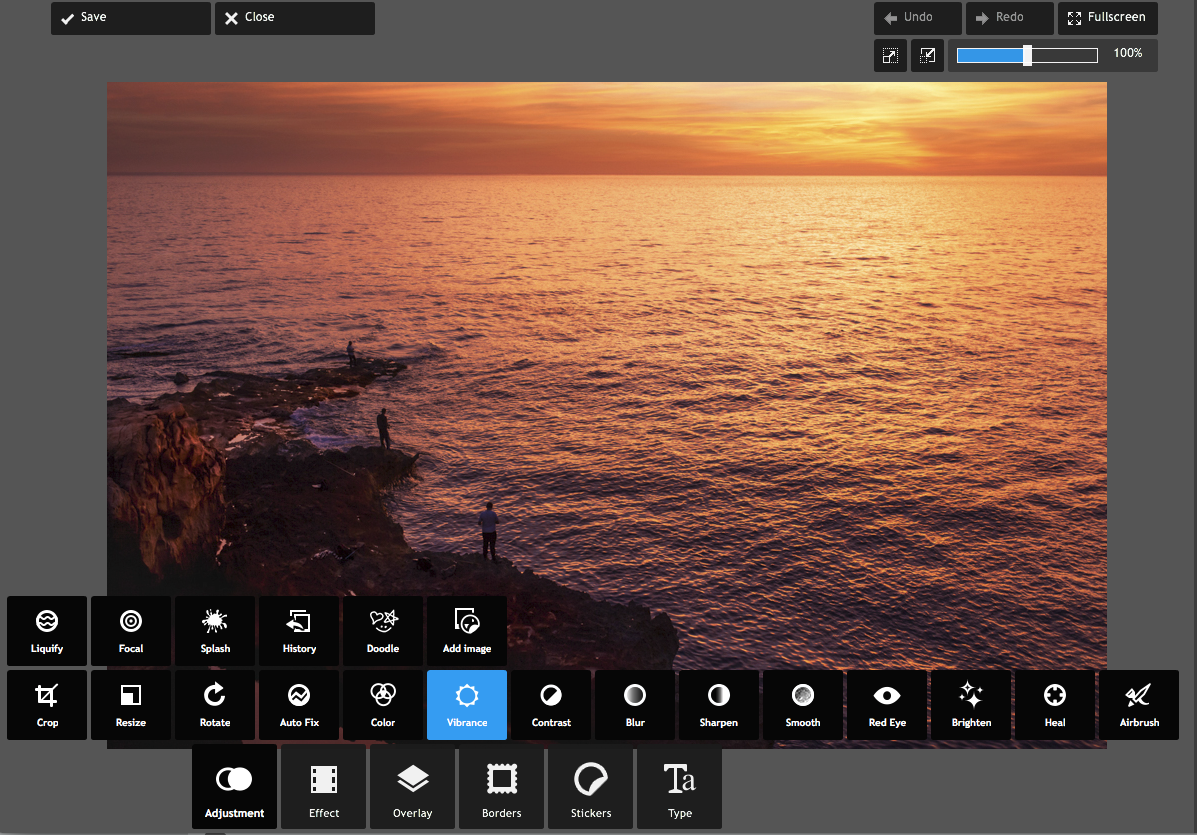
Pixlr
Pixlr is a browser-based editing program that offers several editing platform options for new and intermediate photographers. It’s great for quick fixes and provides a range of filters, but also lets you make more complex edits, like retouching, and utilize layers. Unlike other programs, Pixlr cannot handle or process RAW photos. The new Pixlr X requires you to decrease your image size in order to process it and begin editing. Overall, Pixlr is an inexpensive alternative to Photoshop with fewer features.
Pros: free, variety of editing options. Cons: display lag, cannot accept RAW files
GIMP
GIMP is a free editing program that has similar functions to Adobe Photoshop. With GIMP, you can utilize layers for basic edits as well as more advanced edits like retouching, masking, and usage of curves. GIMP can be downloaded from their site, which contains tutorials that take you through the basic functions and help you figure out the interface. GIMP was created through crowd-sourced coding, so this creates a slightly less powerful program with some display discrepancies and frequent updates. Regardless, it is a great free alternative to Lightroom and Photoshop.
Pros: free, similar capabilities to Photoshop. Cons: frequent updates, less powerful.
Next Steps: Editing Terms
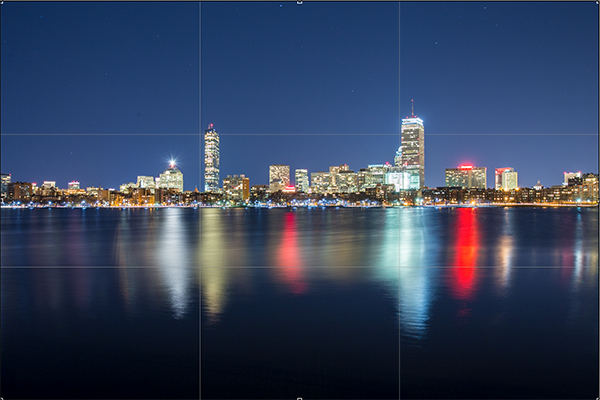
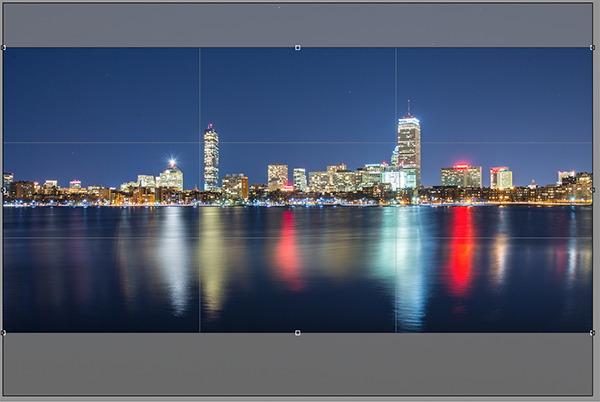
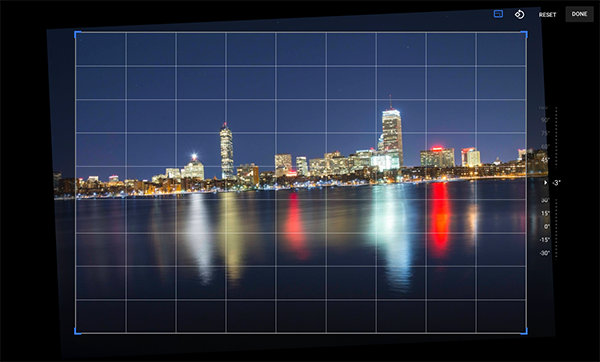
Cropping / Straightening

Cropping is a very common edit which most people will be familiar with. Here you can trim the photo when you want to emphasize a certain part and remove unnecessary elements from the picture. In a few of the editing programs this is also where you can straighten the image by rotating it.
When to use: When you want to emphasize an important part of your photo, like a portrait or landscape.
Exposure / Brightness


Brightness and Exposure often refer to the same tool. These tools take the overall tones and values of the photo and brighten or darken them evenly across the image. All values are lifted or lowered in a linear way.
When to use: When you have dramatically missed the proper exposure in camera (too bright or too dark).
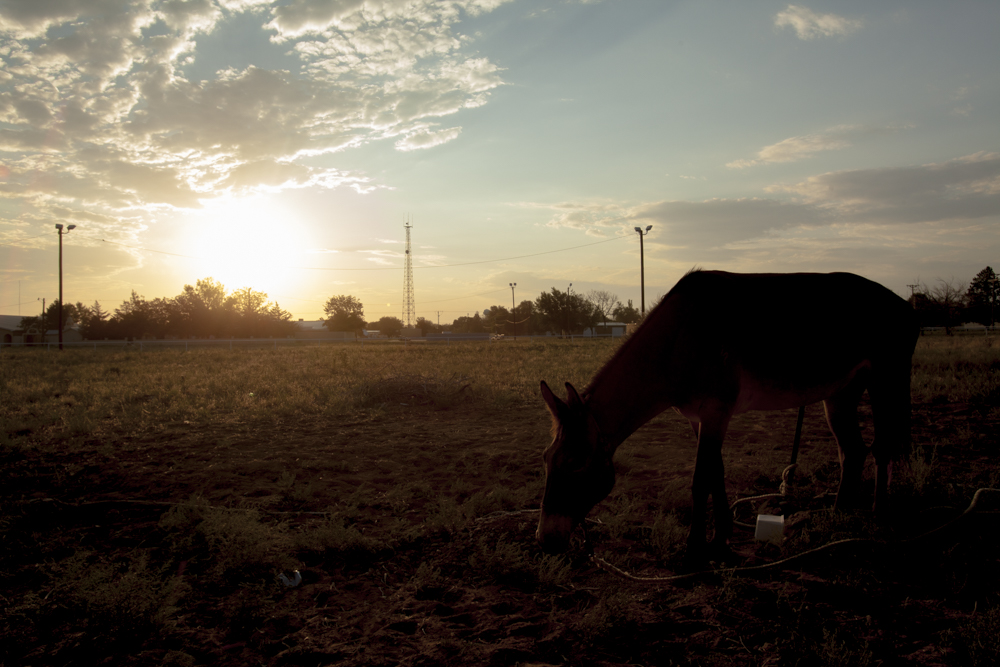
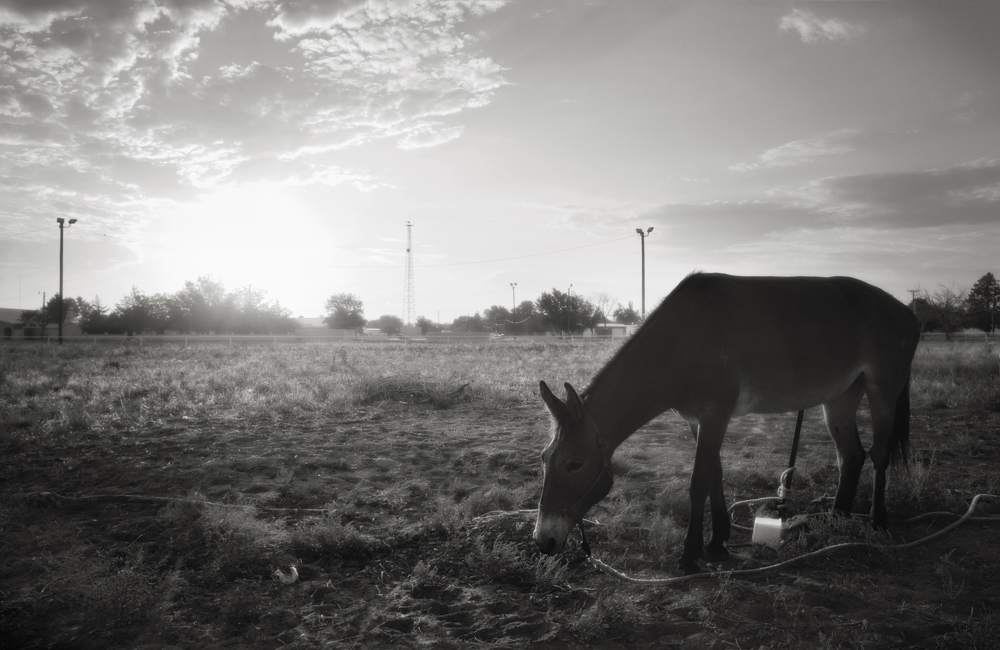
Tip: It's always smart to slightly underexpose when making pictures. When editing those photos utilize this tool by taking your underexposed photo and increasing the exposure to the correct level.
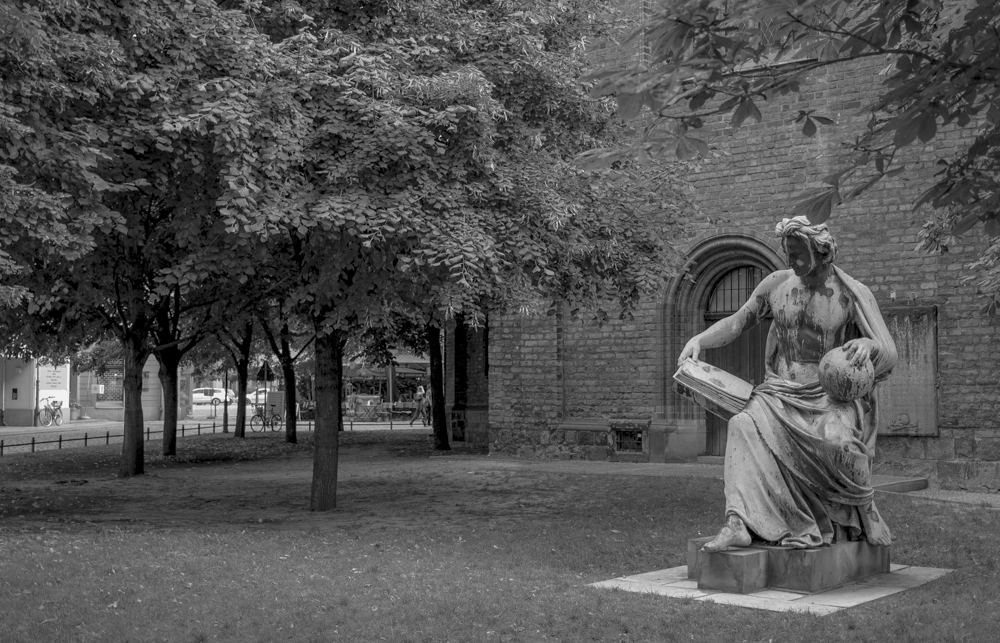
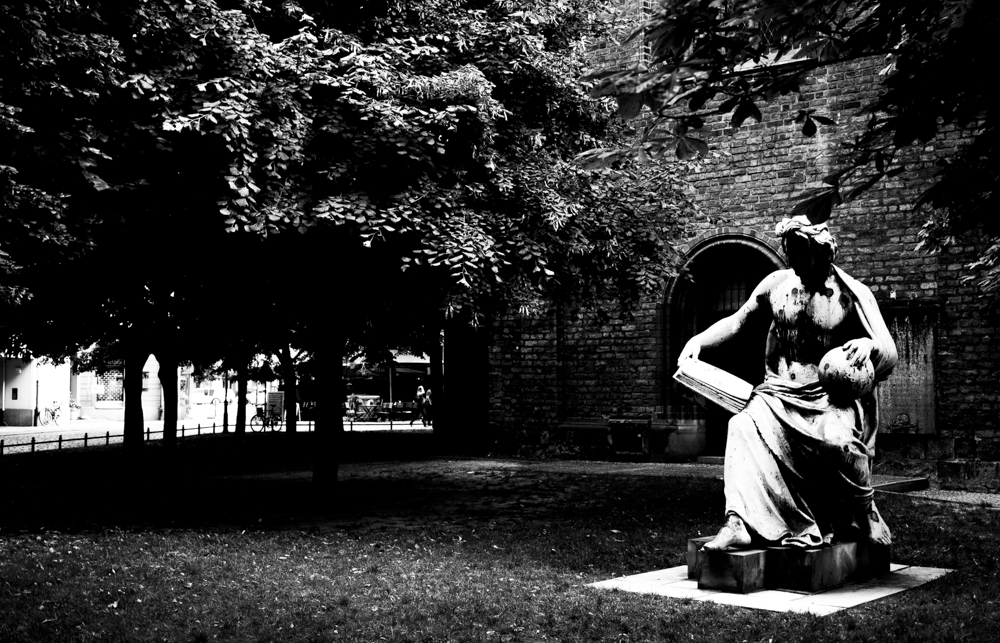
Contrast

Contrast is a very powerful tool and a helpful one to enhance the dramatic feel of a photo. Contrast is the separation between light and dark values. So, if you have a lot of contrast you have a lot of light tones and a lot of dark tones, but not many tones in between (like grey). Low contrast is when there are many tones in between light and dark.
When to use: Increase contrast with pictures taken on grey overcast days, or taken in the shade. In very sunny conditions shadows can be harsh, in these situations lower your photos contrast to show more details and lessen shadows.
Tip: By lowering contrast you can sometimes show more detail in shadow areas.

Saturation / Vibrance


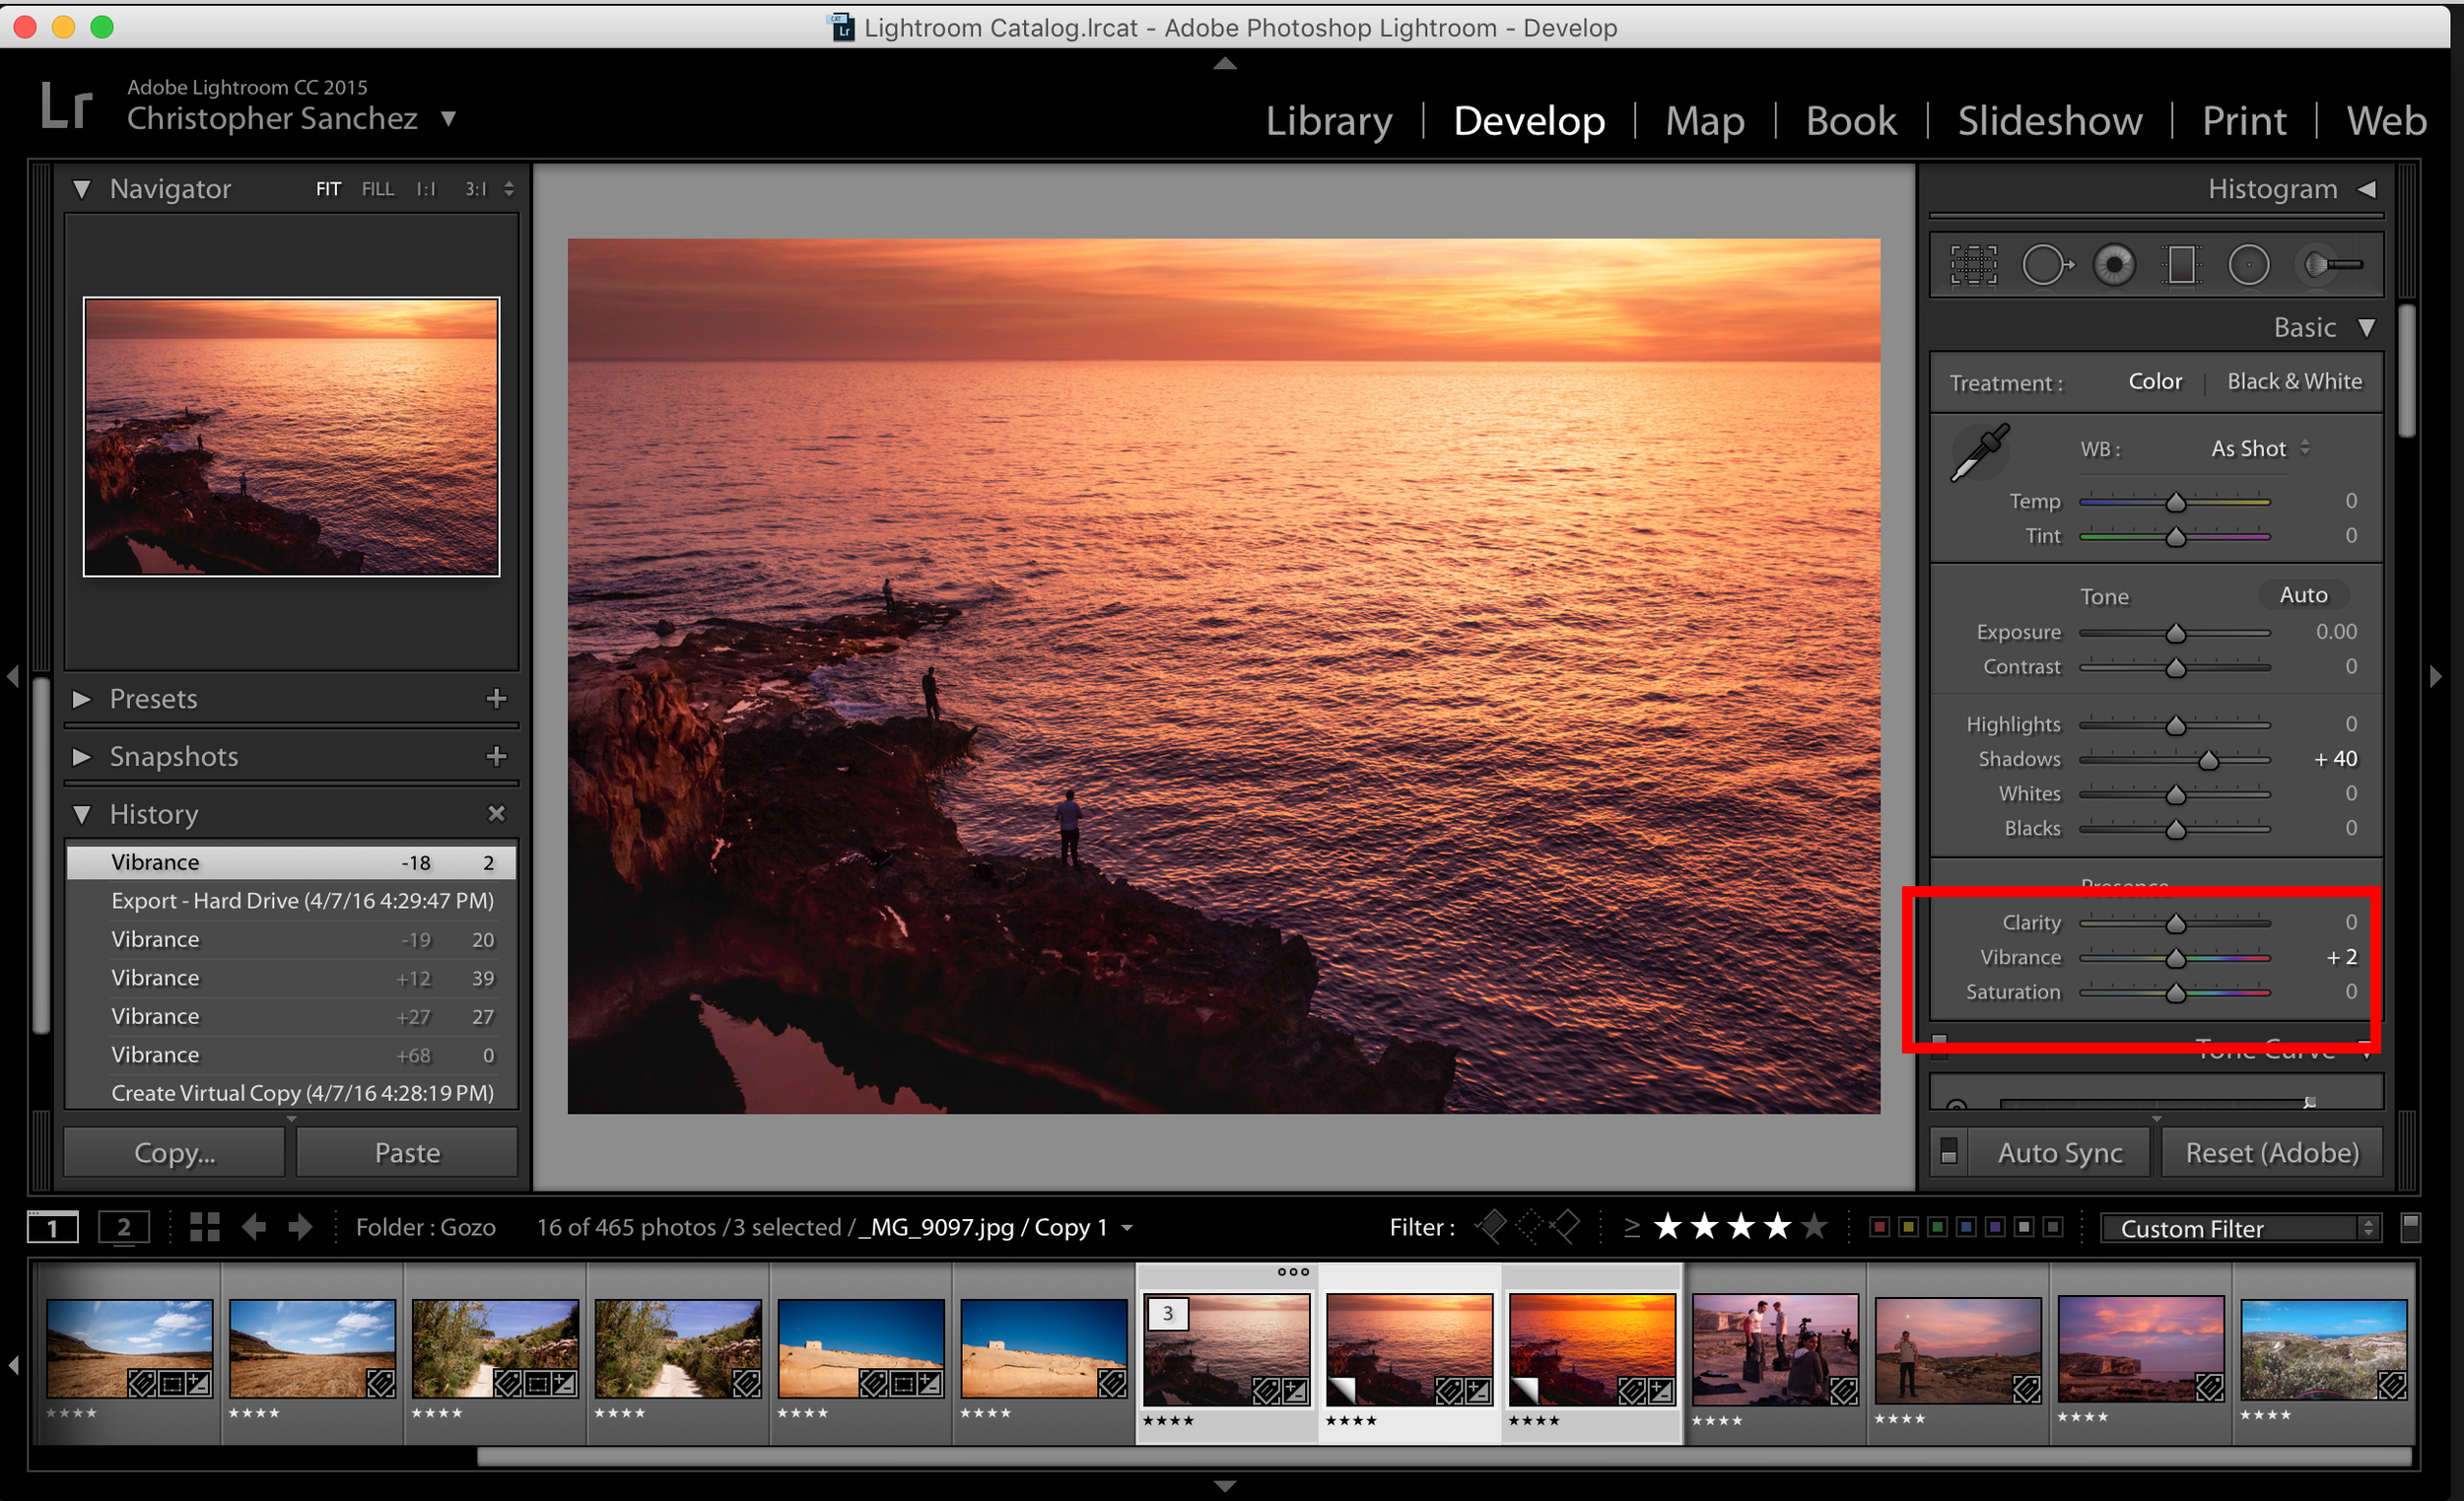
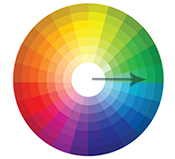
Saturation, Vibrance, and Hue give the user the ability to increase the intensity of the colors already in the image. This is related to color filters (like you see on Instagram), which depending on your program, alter and replace colors in your image instead of using the colors already present.
When to use: When the camera failed to capture the intensity of moment, or if you want to give your photo a color-bump.
Tip: Decrease saturation 100% to make your photo black and white, then increase contrast to make it pop.
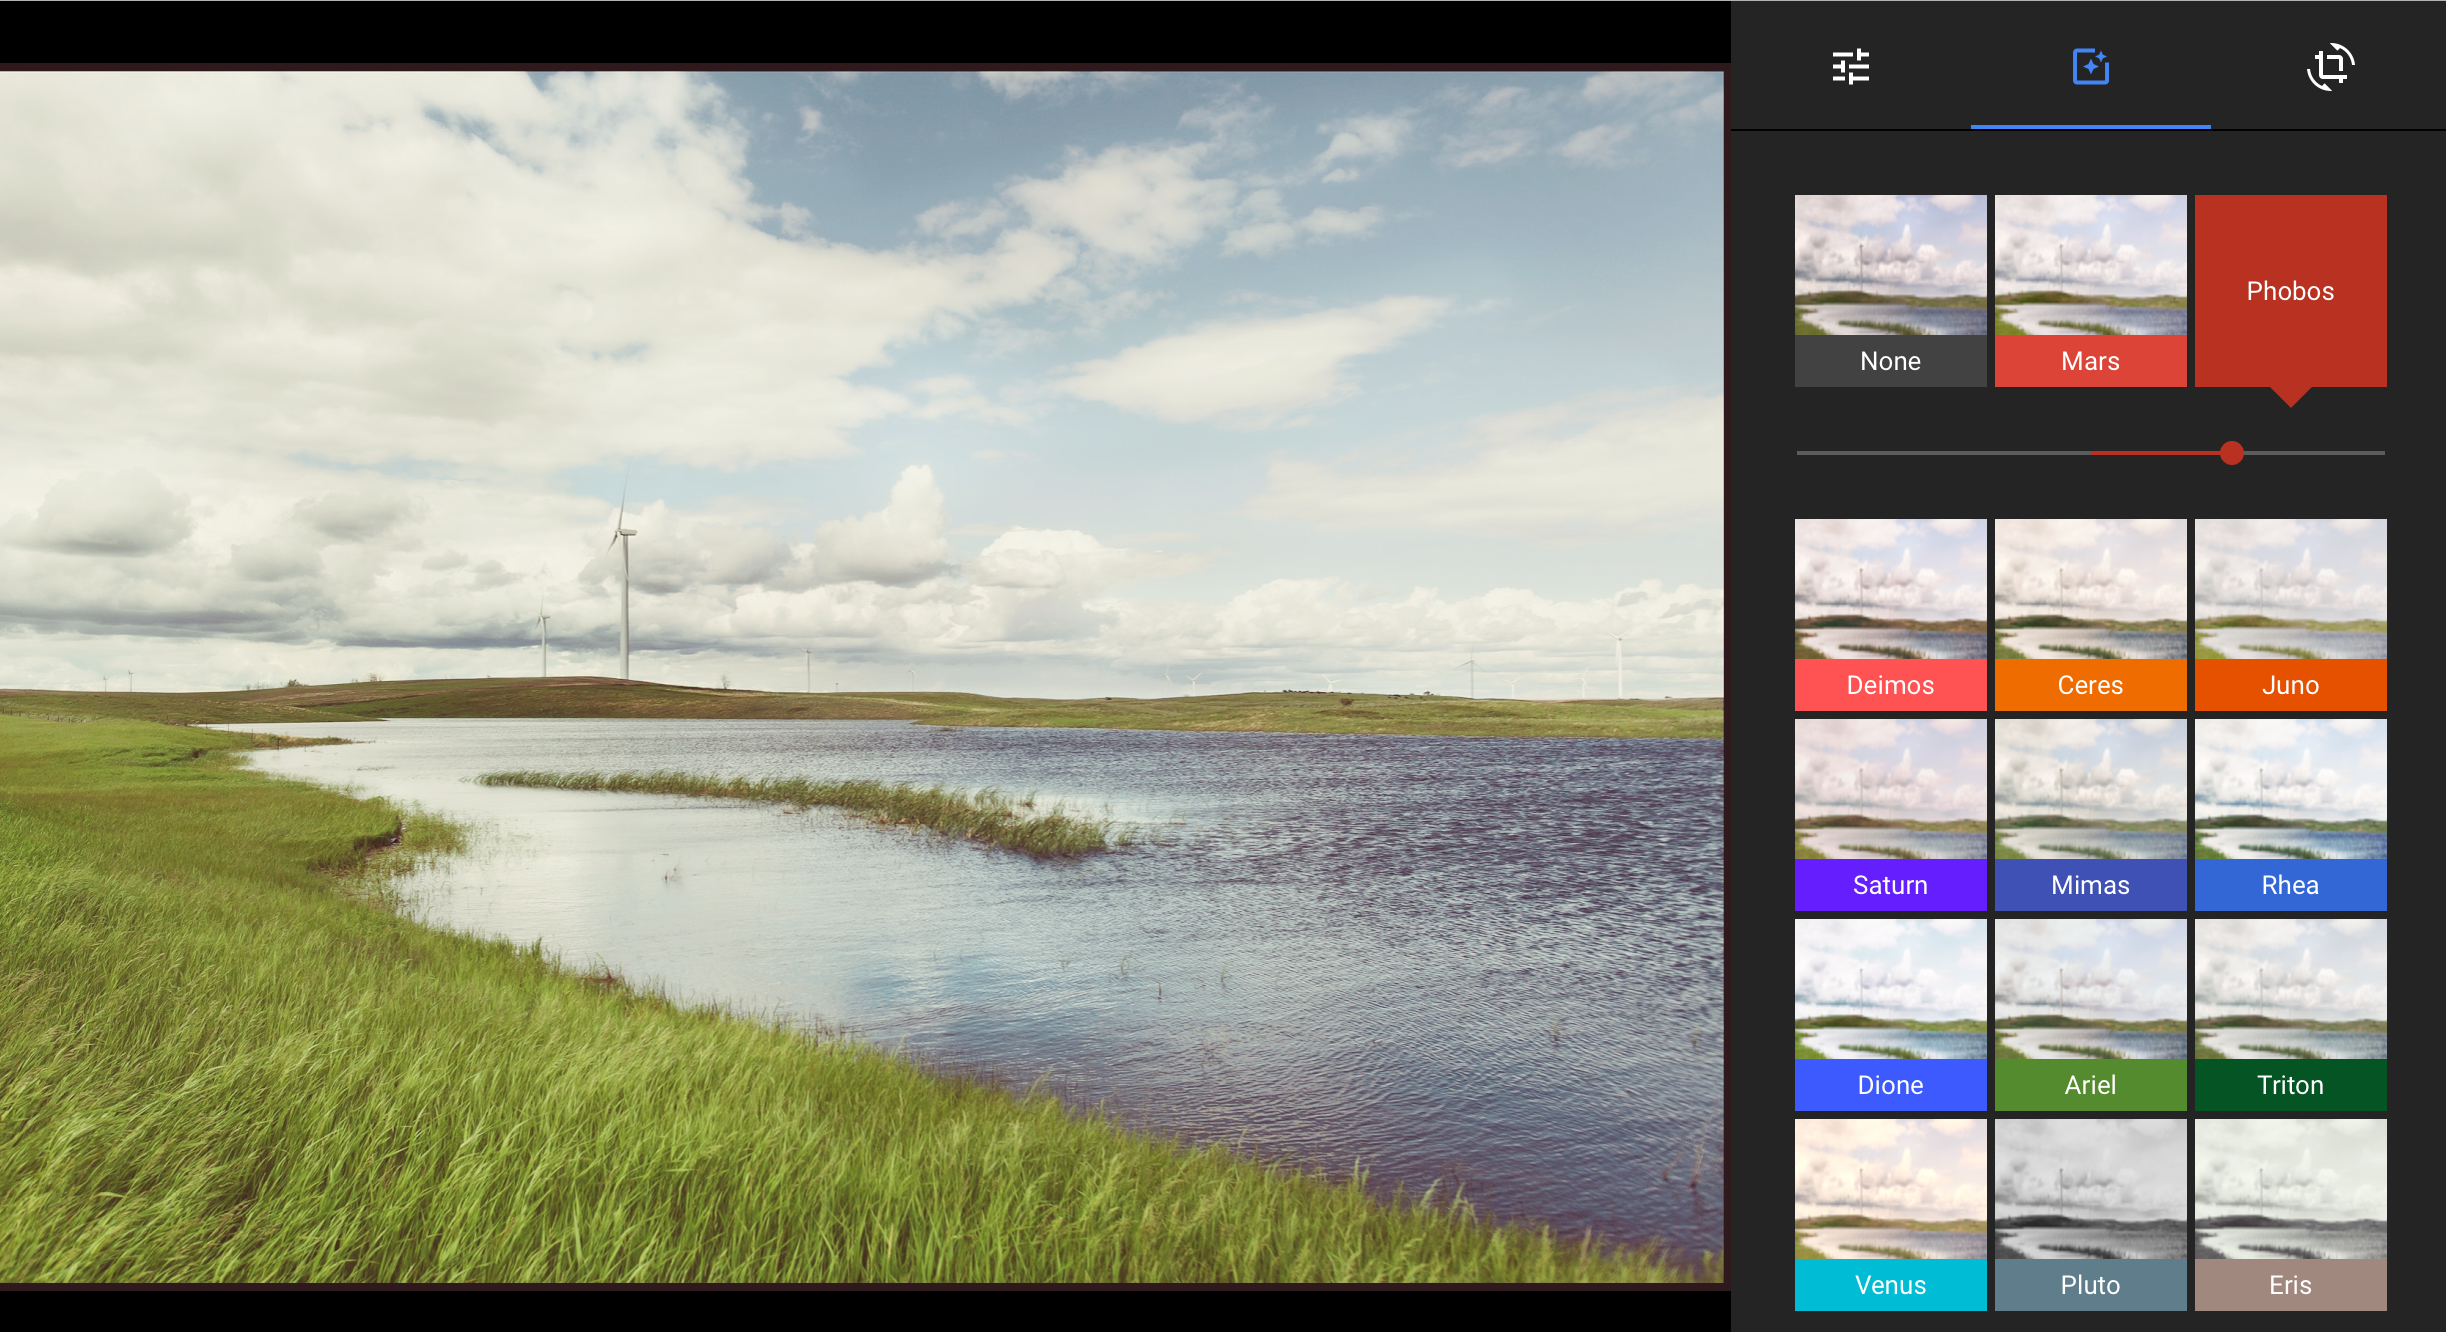
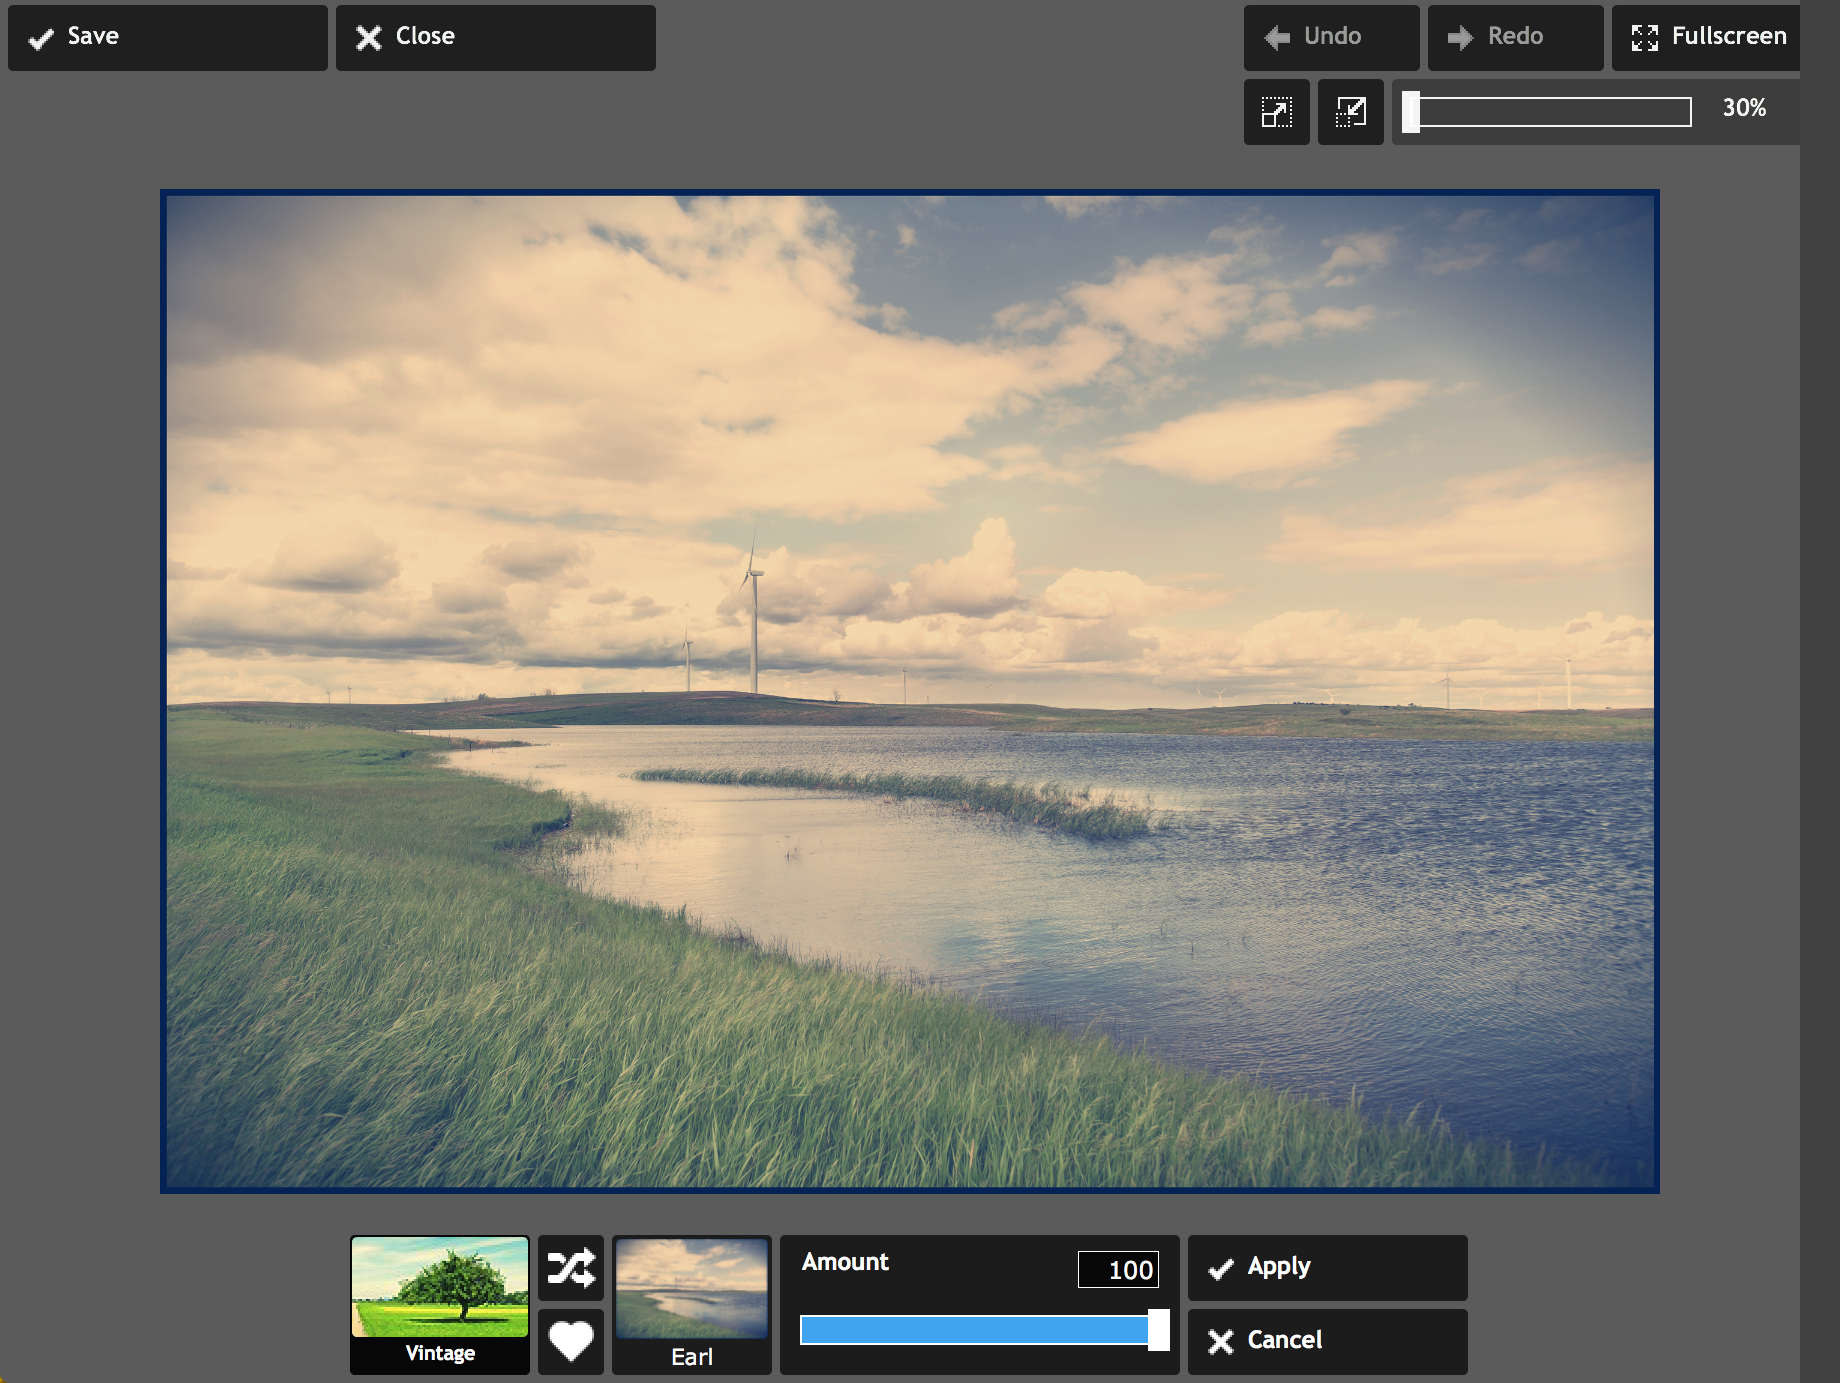
Filters / Presets / Color
Color is a powerful thing. Depending on the program you choose, colors can be altered individually or in a ready-made color filter with just a single click (think Instagram). Essentially ready-made filters are two or three editing tools grouped into one, such as: adding contrast, de-saturating color, and adding red to the photo. In programs like Lightroom, you can also create your own presets to save the settings you like the most and apply them to a range of images.
When to use: When you want to stylize a photo quickly. Or when you want to give a photo a "mood."
Tip: Decrease the percentage applied to a filter to lessen the "gimmicky" look that these can create. Experiment with several filters and save multiple versions. Review and carefully look at whats happening in each photo.

Clarity / Sharpen


Clarity and Sharpening do exactly as they imply. Enhancing edges and textures of your subject matter, the outcome of this tool is an image that is more pronounced—so it feels like you just put glasses on.
When to use: Almost all photos can be improved by modest sharpening. When an image has a lot of details or textures, using this tool can bring out or emphasize those details.
Tip: Along with any other editing processes, using too much of the sharpening / clarity tool can make an image look too grainy or intense.
Your Next Steps
At times editing can feel like a daunting or scary task, but it doesn’t have to be! Beginners and advanced students alike, we think all photographers should give editing a try to reach the full potential of their photos. Our studio offers easy and fun classes for Lightroom Classic and Photoshop, or we can help you learn the editing program of your choice through a private lesson. We encourage you to get out there and try some of the above programs (many have free trials) and experiment with your own photos. Happy editing!