
Silhouettes are a powerful and captivating photographic technique that can add drama, mystery, and emotion to your images. By reducing subjects to their essential shapes and outlines, silhouettes evoke a sense of intrigue and imagination. In this guide, we'll explore how to shoot stunning silhouettes using a digital camera, particularly in manual mode, and discover the types of subjects that lend themselves well to this art form.
Understanding Silhouettes
A silhouette photograph is created when the subject is backlit, causing it to appear as a dark shape against a brighter background. The key to achieving a successful silhouette is to ensure that the subject is in shadow while the background is well-exposed. This effect is most easily achieved during the "golden hour," the time just after sunrise or before sunset when the sun is low in the sky and provides a warm, soft light.
Shooting in Manual Mode
To capture stunning silhouettes, using your digital camera's manual mode provides the greatest control over exposure settings. Here's a step-by-step guide:
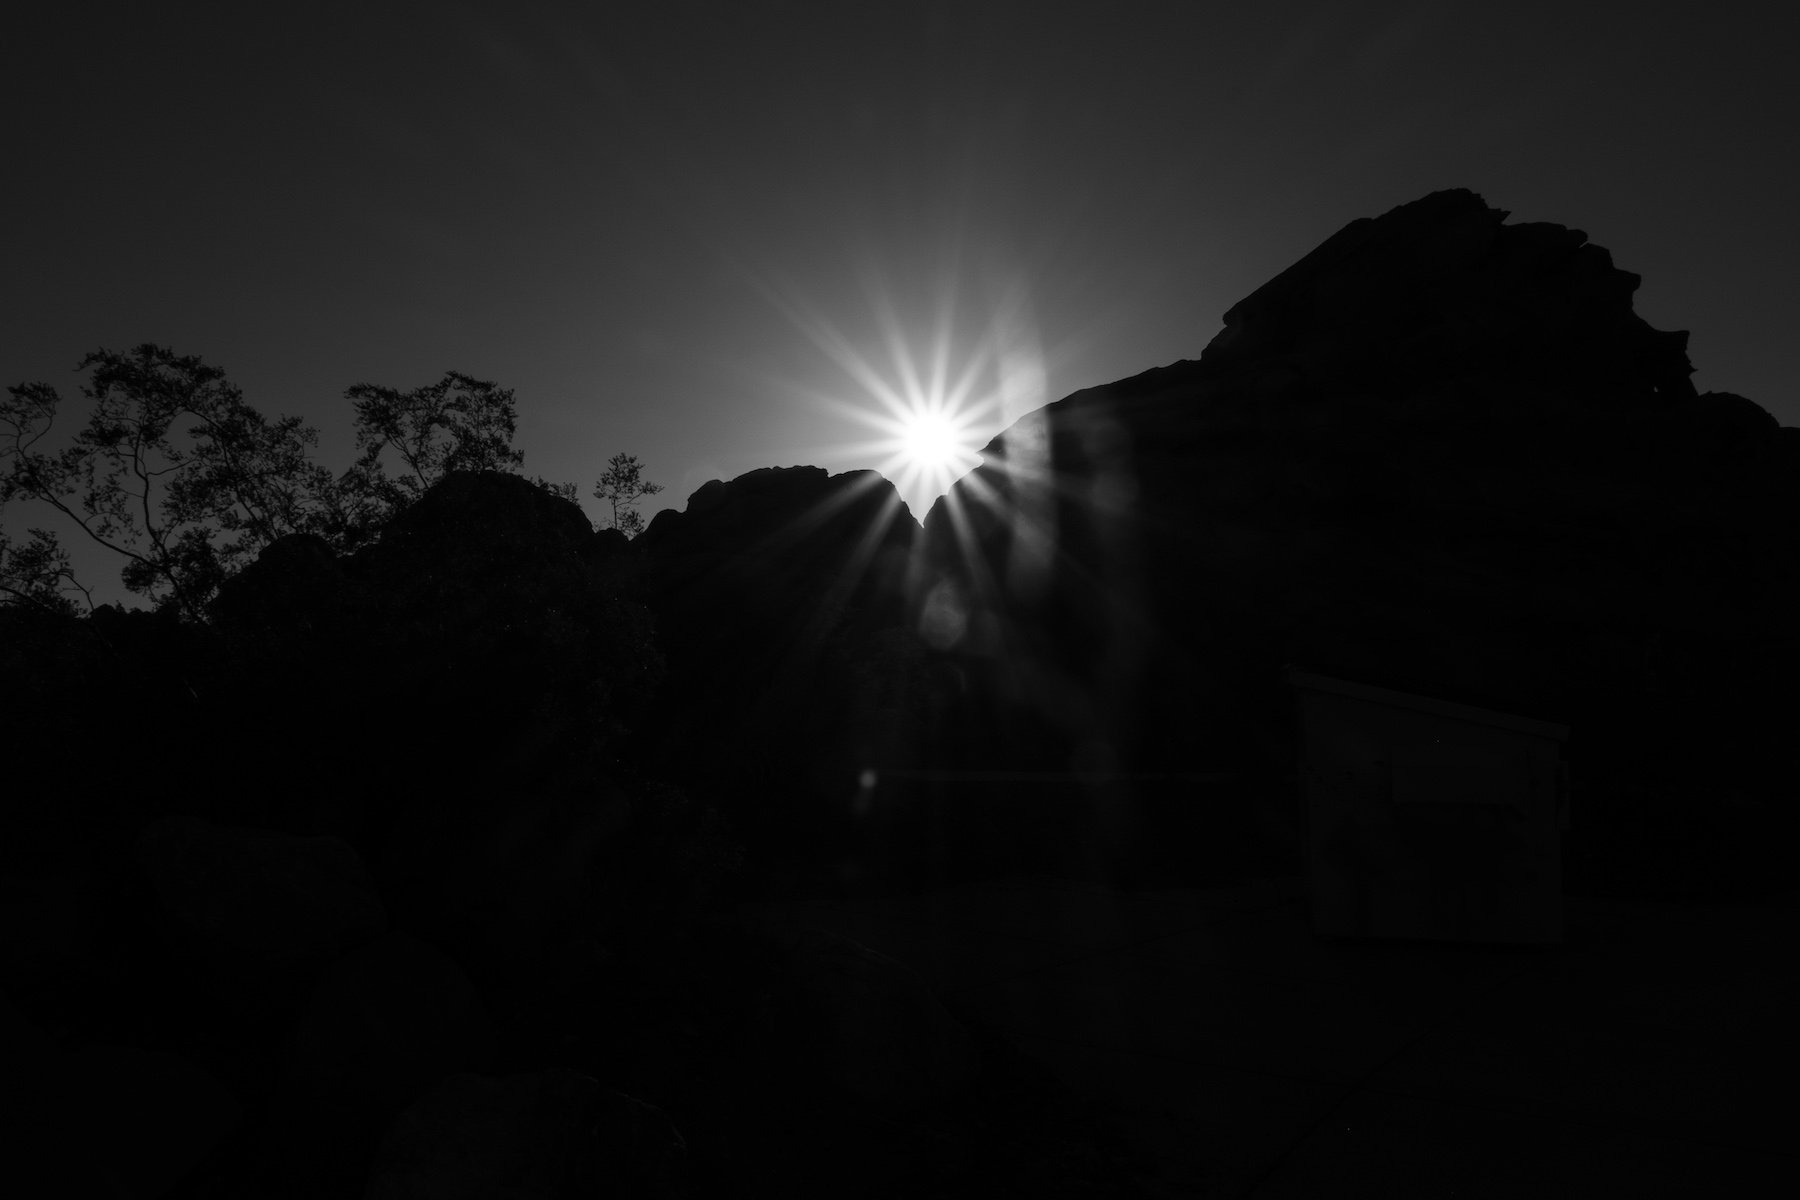
Image by: Andrea R. (student)
Choose the Right Time | As mentioned, the golden hour is ideal for creating silhouettes due to its soft, diffused lighting. The low angle of the sun helps in achieving the necessary backlighting.
Select a Backlit Scene | Position your subject between the camera and the light source (e.g., the setting sun). This will ensure that the light is coming from behind the subject, creating the desired silhouette effect.
Metering | Use spot metering or center-weighted metering to measure the light on the subject, not the background. Spot metering measures the light from a small area, often at the center of the frame, and calculates the exposure based on that specific spot. When shooting silhouettes, you can position the spot metering area over the brightest part of the background (e.g., the sky) and then recompose your shot to include the subject. This ensures that the camera exposes for the background's brightness, causing the subject to be underexposed and appear as a silhouette against the brighter background.
Manual Mode Settings | Set your camera to manual (M) mode. Begin by selecting a low ISO setting to maintain image quality and reduce noise. You will usually want to choose a small aperture (higher f-number) to increase depth of field, keeping both the subject and background in focus, but this can depend based on your composition. Lastly, adjust the shutter speed to achieve the desired exposure. A faster shutter speed will darken and freeze the subject, enhancing the silhouette effect.
Focus | In most cases, you'll want the subject sharp and in focus. Use manual focus or focus lock to ensure the camera doesn't try to focus on the bright background.
Capture the Shot | With the settings configured, take the shot. Review the image and make adjustments as needed to achieve the desired effect.
Choosing Subjects for Silhouettes
Certain subjects lend themselves particularly well to creating captivating silhouettes:

Photo by: Pete MacLellan (instructor)
Human Forms | People in various poses, especially when engaged in recognizable activities, can create intriguing and emotional silhouettes.
Natural Elements | Trees, animals, and landscapes against colorful skies during sunrise or sunset can make for striking silhouettes.
Architectural Structures | Buildings, bridges, and other structures with distinctive shapes can create dramatic silhouettes against the sky.
Objects with Unique Outlines | Everyday objects like bicycles, umbrellas, or even a lone chair can be transformed into captivating silhouettes.
Simplified Scenes | Keep the composition uncluttered to emphasize the subject's shape. A minimalistic approach often works best.
Editing Your Silhouette Photo
While capturing a compelling silhouette in-camera is an art in itself, the right post-processing techniques can elevate your silhouettes to the next level. We teach our students to use Adobe Lightroom here at the BPW and it’s a powerful tool that allows you to fine-tune your silhouette images, emphasizing contrast, color, and mood. Here's how you can enhance your silhouettes using Lightroom:
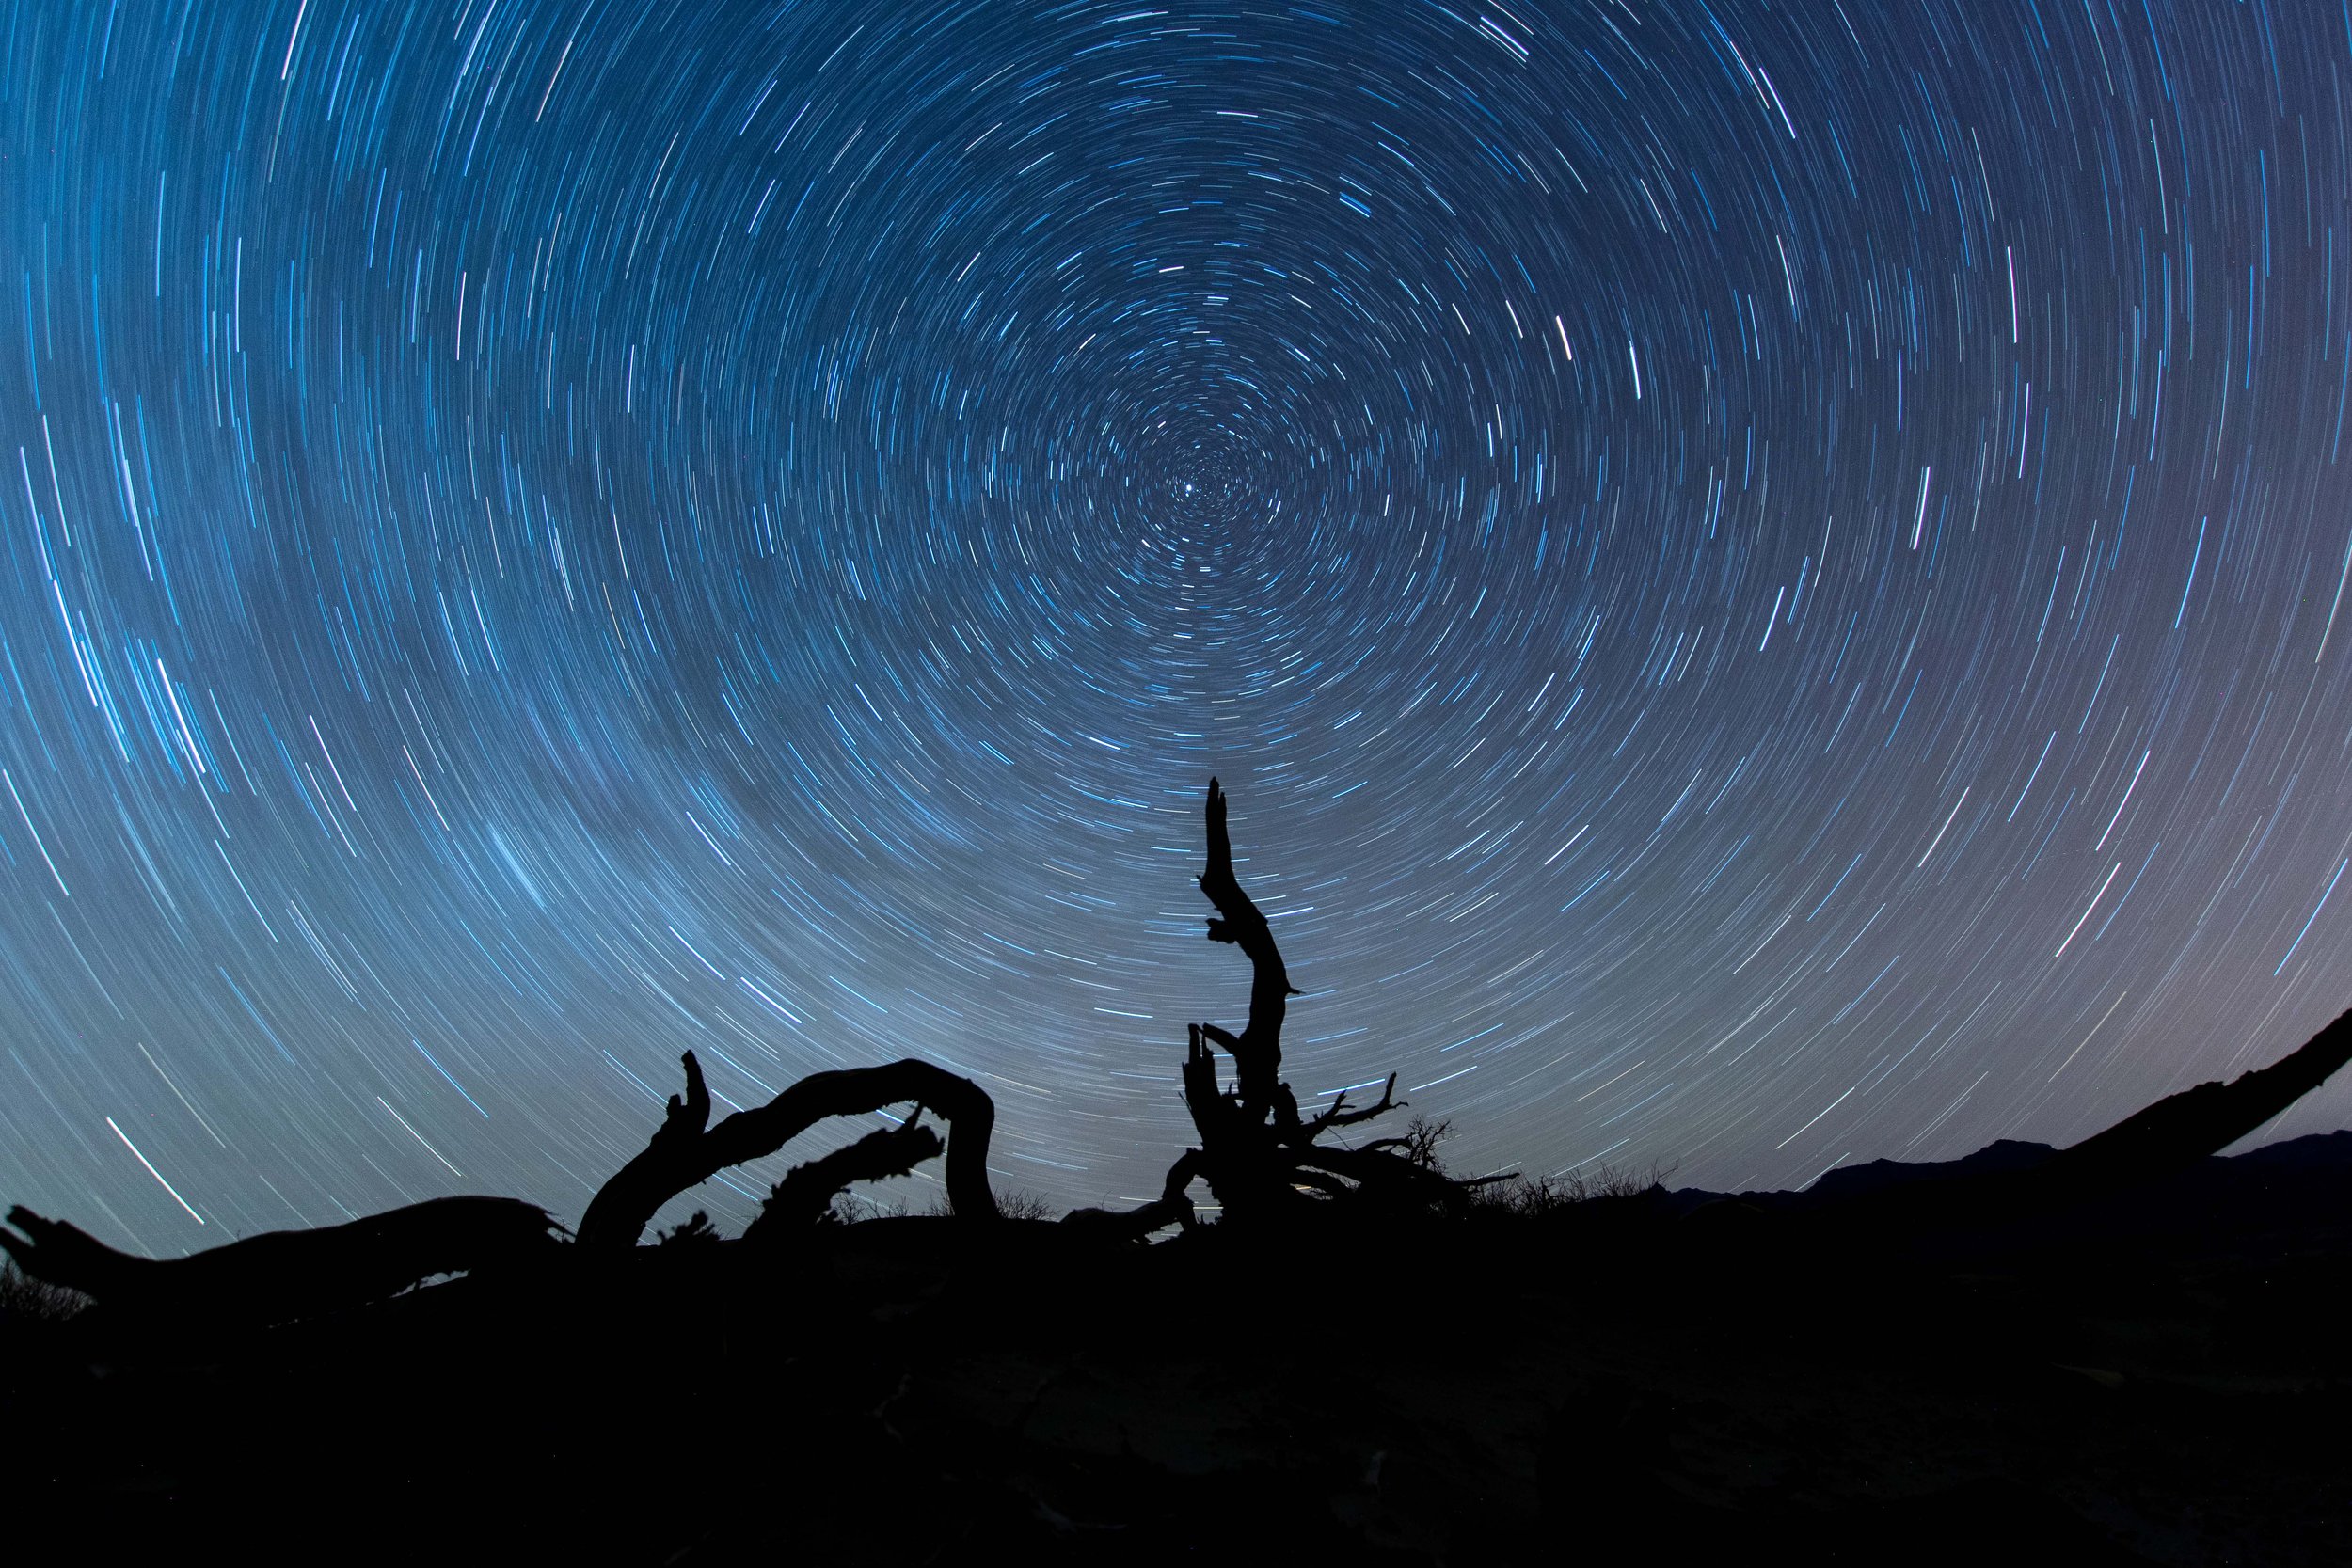
Photo by: Dyan L. (student)
Basic Adjustments | Start by making basic adjustments to your image in the Develop module. Here's a breakdown of key adjustments to consider:
Exposure and Contrast: Adjust the exposure slider to fine-tune the overall brightness of your image. We like to do the wiggle test (moving the slider to the extremes and gradually dialing back to center) to explore and discover what’s hiding in the photos. Increase contrast to deepen the silhouette effect and create separation between the subject and the background.
Highlights and Shadows: Darken the shadows further to intensify the silhouette while preserving the highlights for a dramatic contrast.
Clarity: Increase clarity slightly to enhance the edges of the subject and add definition.
White Balance | Experiment with the white balance settings to achieve the desired mood for your silhouette. Warmer tones often work well to complement the golden hour lighting.
Graduated Filters and Radial Filters | Use the Graduated Filter and Radial Filter tools to selectively adjust specific areas of your image:
Graduated Filter: Apply a graduated filter from the bottom of the image upwards, reducing exposure and increasing contrast in the lower portion of the frame. This enhances the dark silhouette effect while maintaining the color and detail in the sky.
Radial Filter: If your subject needs more emphasis, use a radial filter around it. Increase exposure slightly and adjust other settings to make the subject stand out without affecting the surrounding silhouette.

Photo by: Justin Bartels
Color Enhancements | Experiment with color adjustments to create a mood that complements the story you want to convey.
HSL (Hue, Saturation, Luminance): Adjust the saturation and luminance of specific colors. Enhance warm tones in the background to complement the silhouette, or decrease the saturation of distracting colors.
Vignette | Applying a subtle vignette to draw attention to the subject and add a touch of drama to the edges of the frame.
Noise Reduction | If necessary, apply noise reduction to ensure a clean and smooth silhouette, especially in areas of solid color.
Preserve the Mood | While enhancing your silhouette, be mindful not to over-process the image to the point where it loses its authentic mood and feeling.
Remember, unless you are purposefully going for an altered look, post-processing should enhance the essence of your silhouette rather than completely altering it. Use Lightroom as a tool to refine the visual impact and narrative of your images while preserving the inherent magic of the silhouette you captured.
By combining effective shooting techniques with thoughtful post-processing in Lightroom, you can create silhouette photographs that resonate deeply with your audience, conveying emotion, story, and a sense of wonder.